The start of God of War Ragnarok is the beginning of a new quest for Kratos, Atreus and Mimir, as their pursuit of a peaceful life in the lands of Norse mythology once again places them at loggerheads with the All-Father, Odin. Resigned to defeat Odin however they can, the trio head off to try and track down one of the only gods to ever mount a challenge to the High One: Tyr, the old Norse god of war. Working on the assumption that Tyr has been imprisoned somewhere in Svartalfheim, Kratos and co set out to first find Durlin, a Dwarf rebel leader, in the city of Nidavellir. The Aurvangar Wetlands is the first area in God of War Ragnarok that really lets you off the leash, with numerous side paths to explore and puzzles blocking your progress. Here’s how to make it all the way through to Nidavellir and find Durlin.
God of War Ragnarok Aurvangar Wetlands
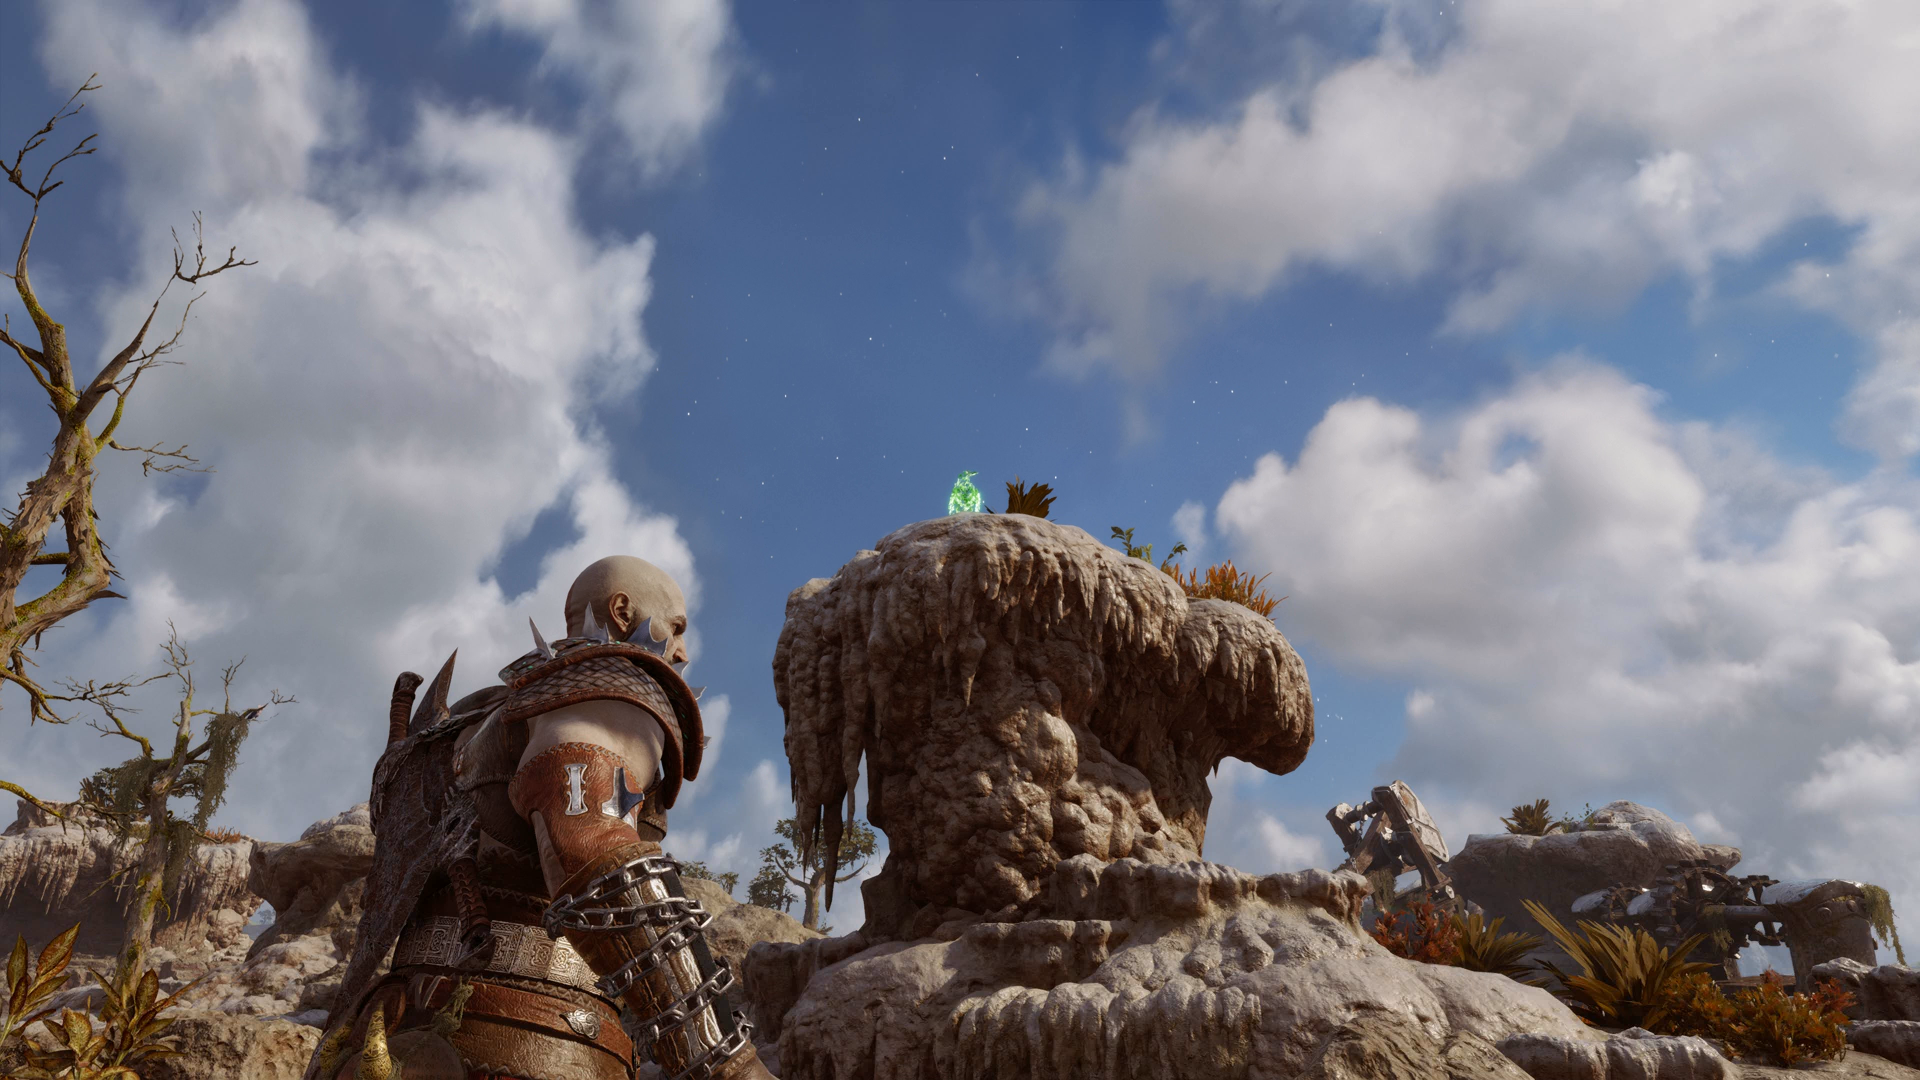
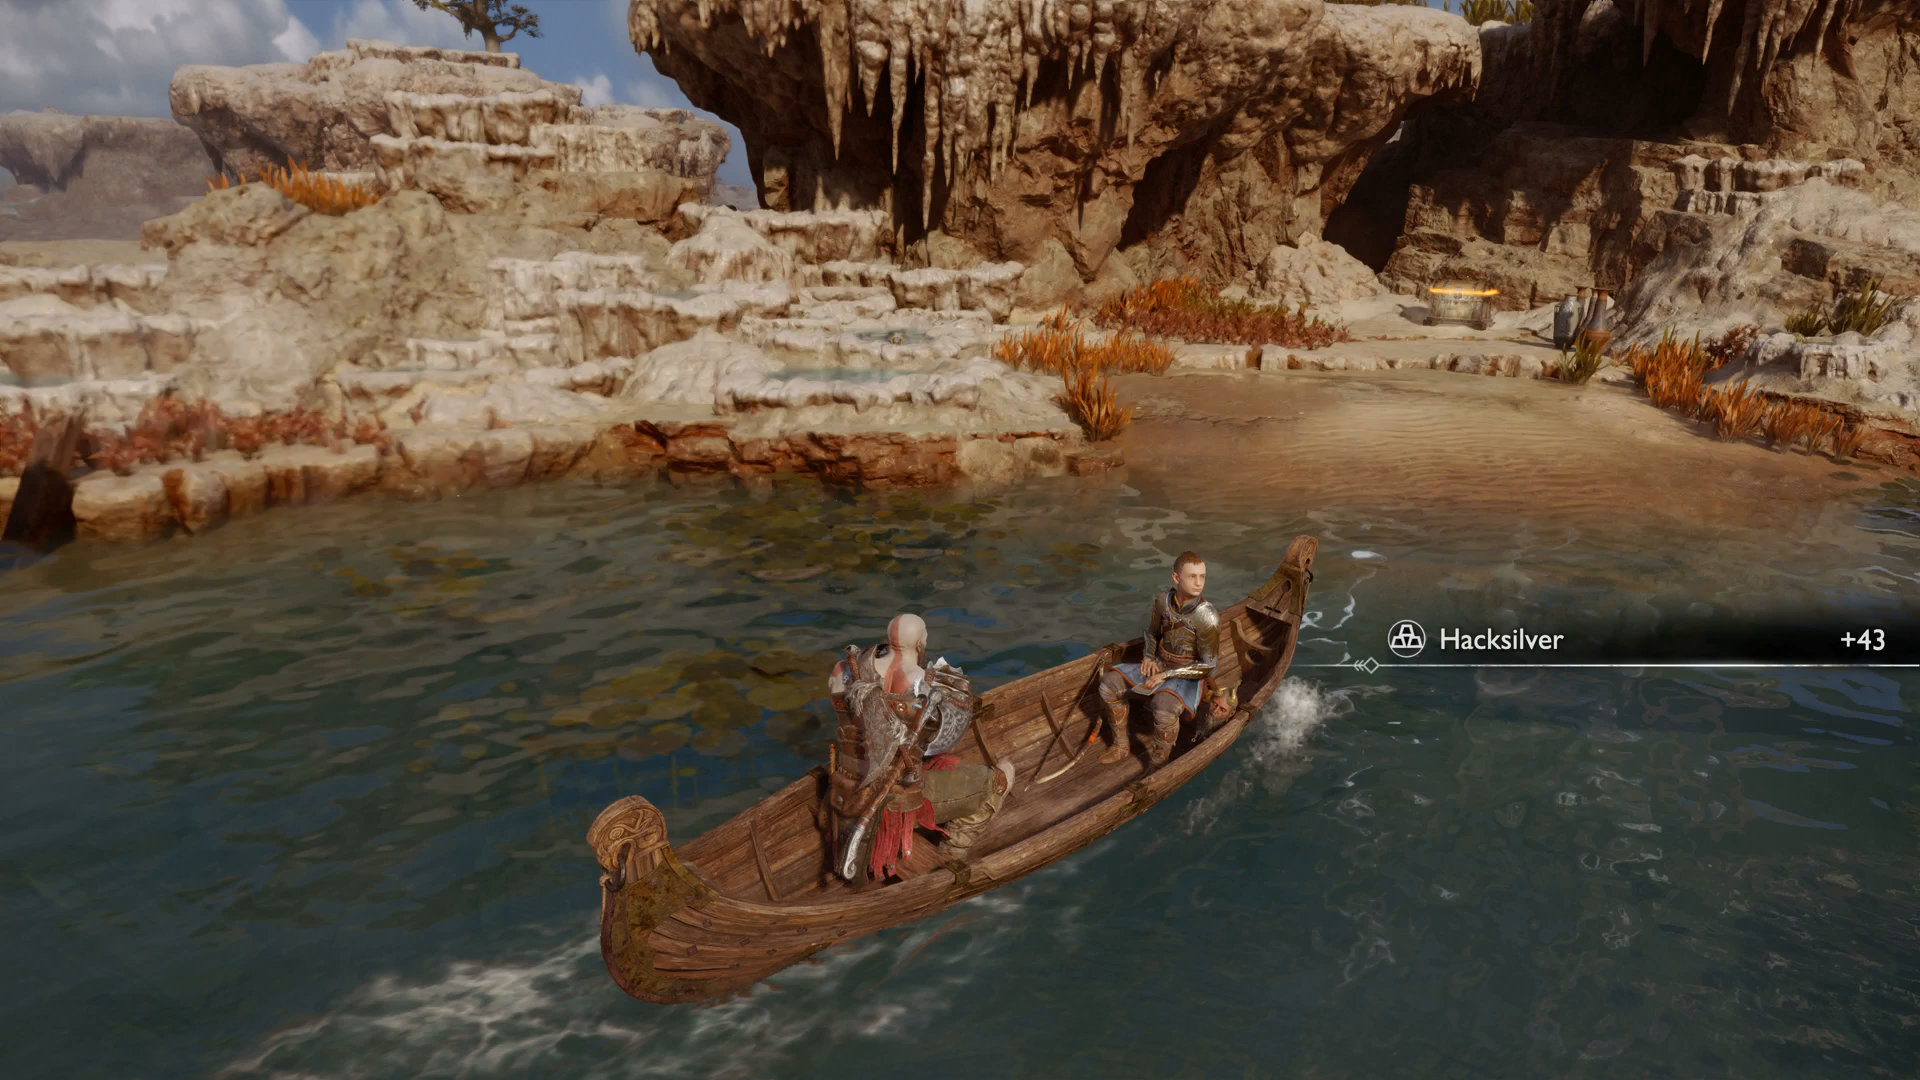
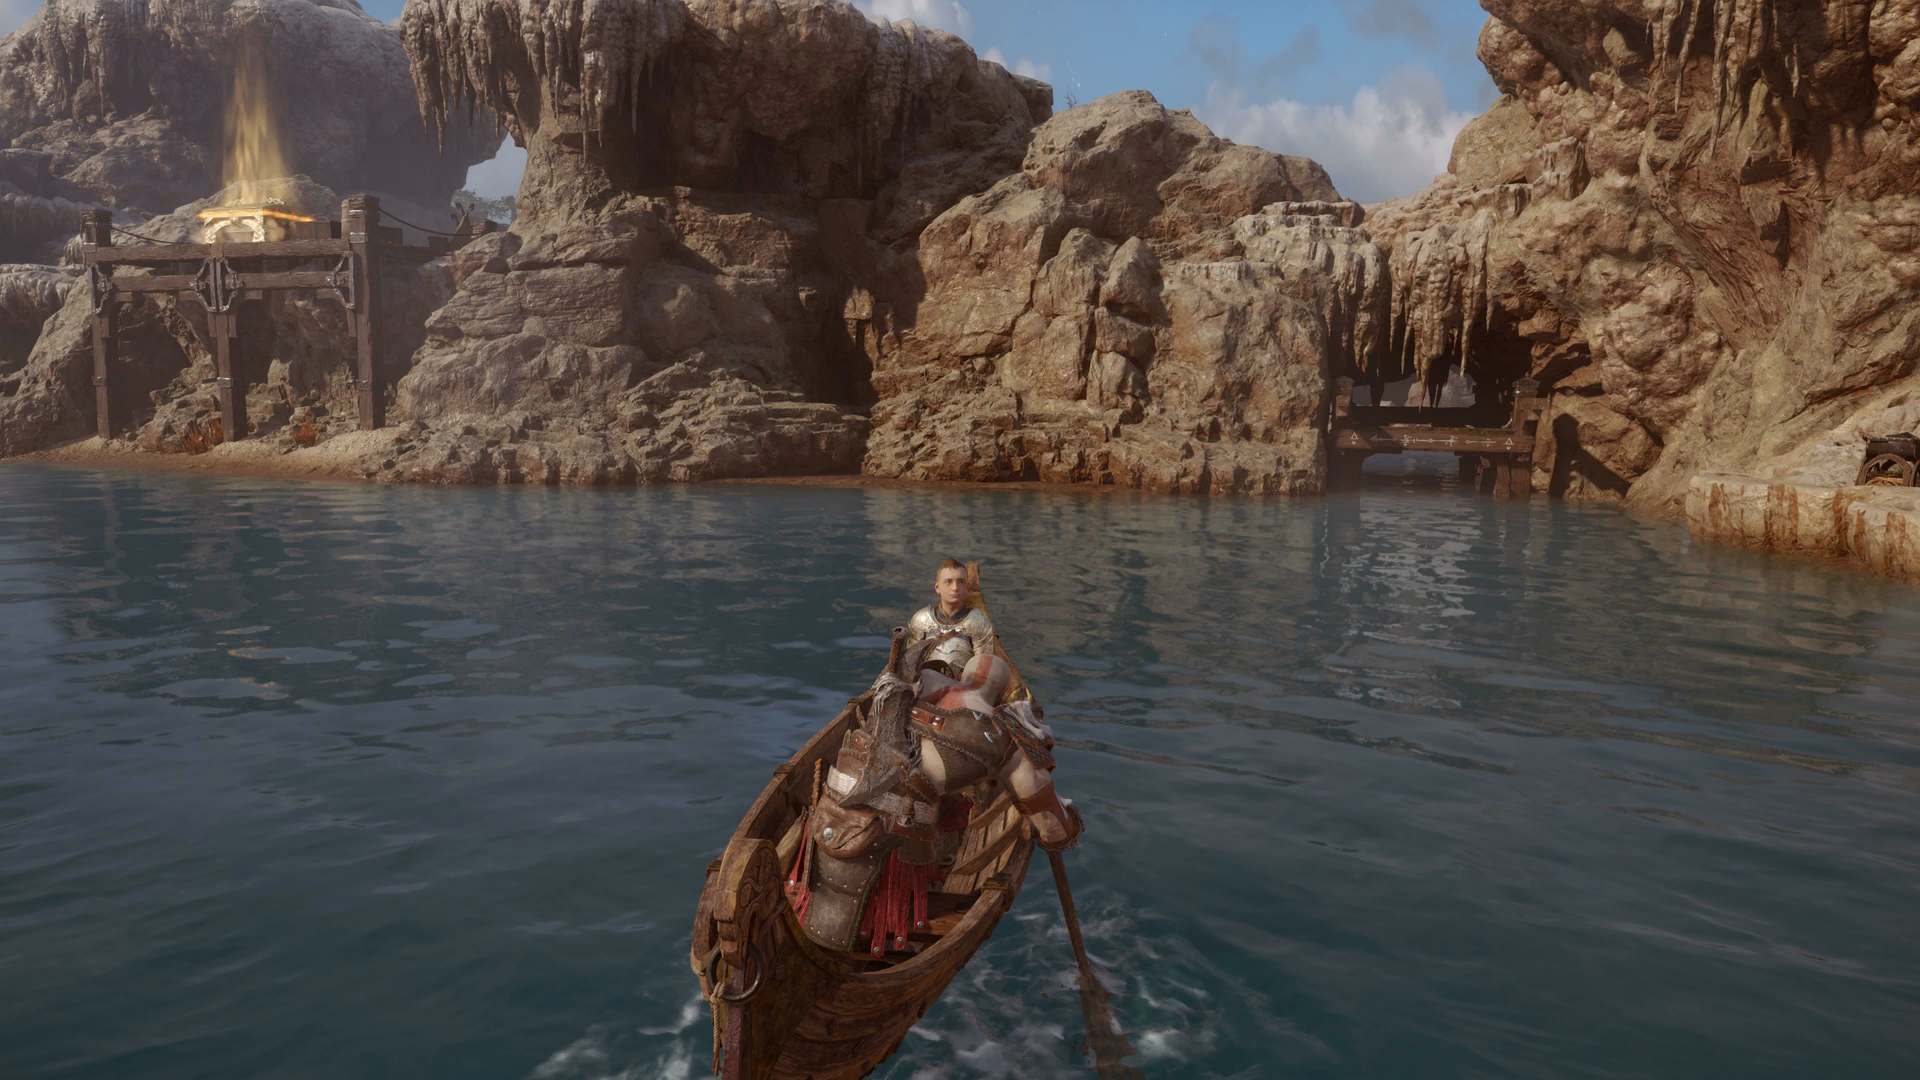
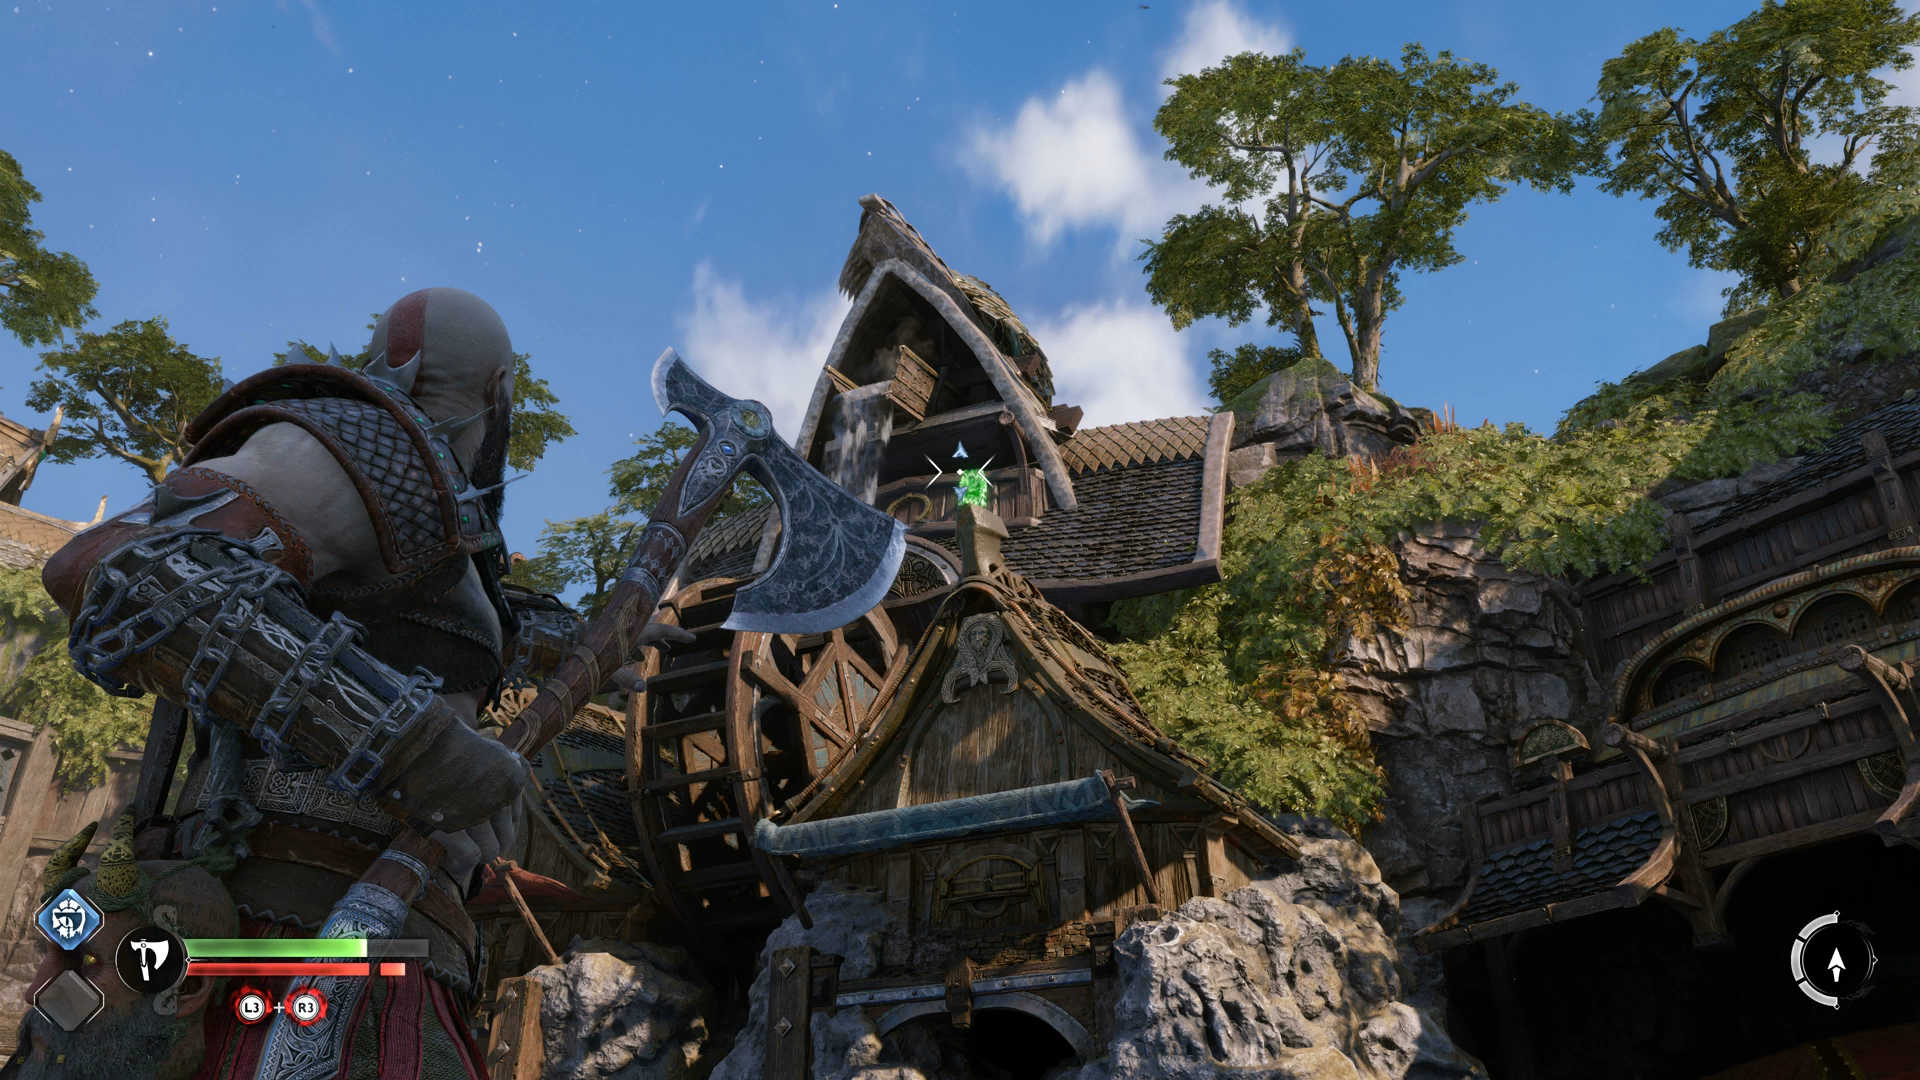
As you step out of the realm portal from Brok and Sindri’s hideaway, you find yourself on the banks of a steamy river in the Aurvangar Wetlands. In front of you is a boat you can use to set sail onto the river, while on the side path to your left you can find the first of Odin’s winged spies perched on top of the stalactite-encrusted rock formation. Lift the boat and squish the wretches you find underneath. This leads out into the Aurvangar Wetlands proper. Paddle down the river, collecting the item from the shimmering water as you go, until you reach a fork. On the left is a barrel you can smash through for another item, as well as beach you can land on to collect a cache. Hop back in the boat, circle back to collect the item in the other barrel that was on the right-hand side of the fork, then continue downstream. There are more items to gather in the water and in barrels as you go, but continue forward until you reach the water wheel.
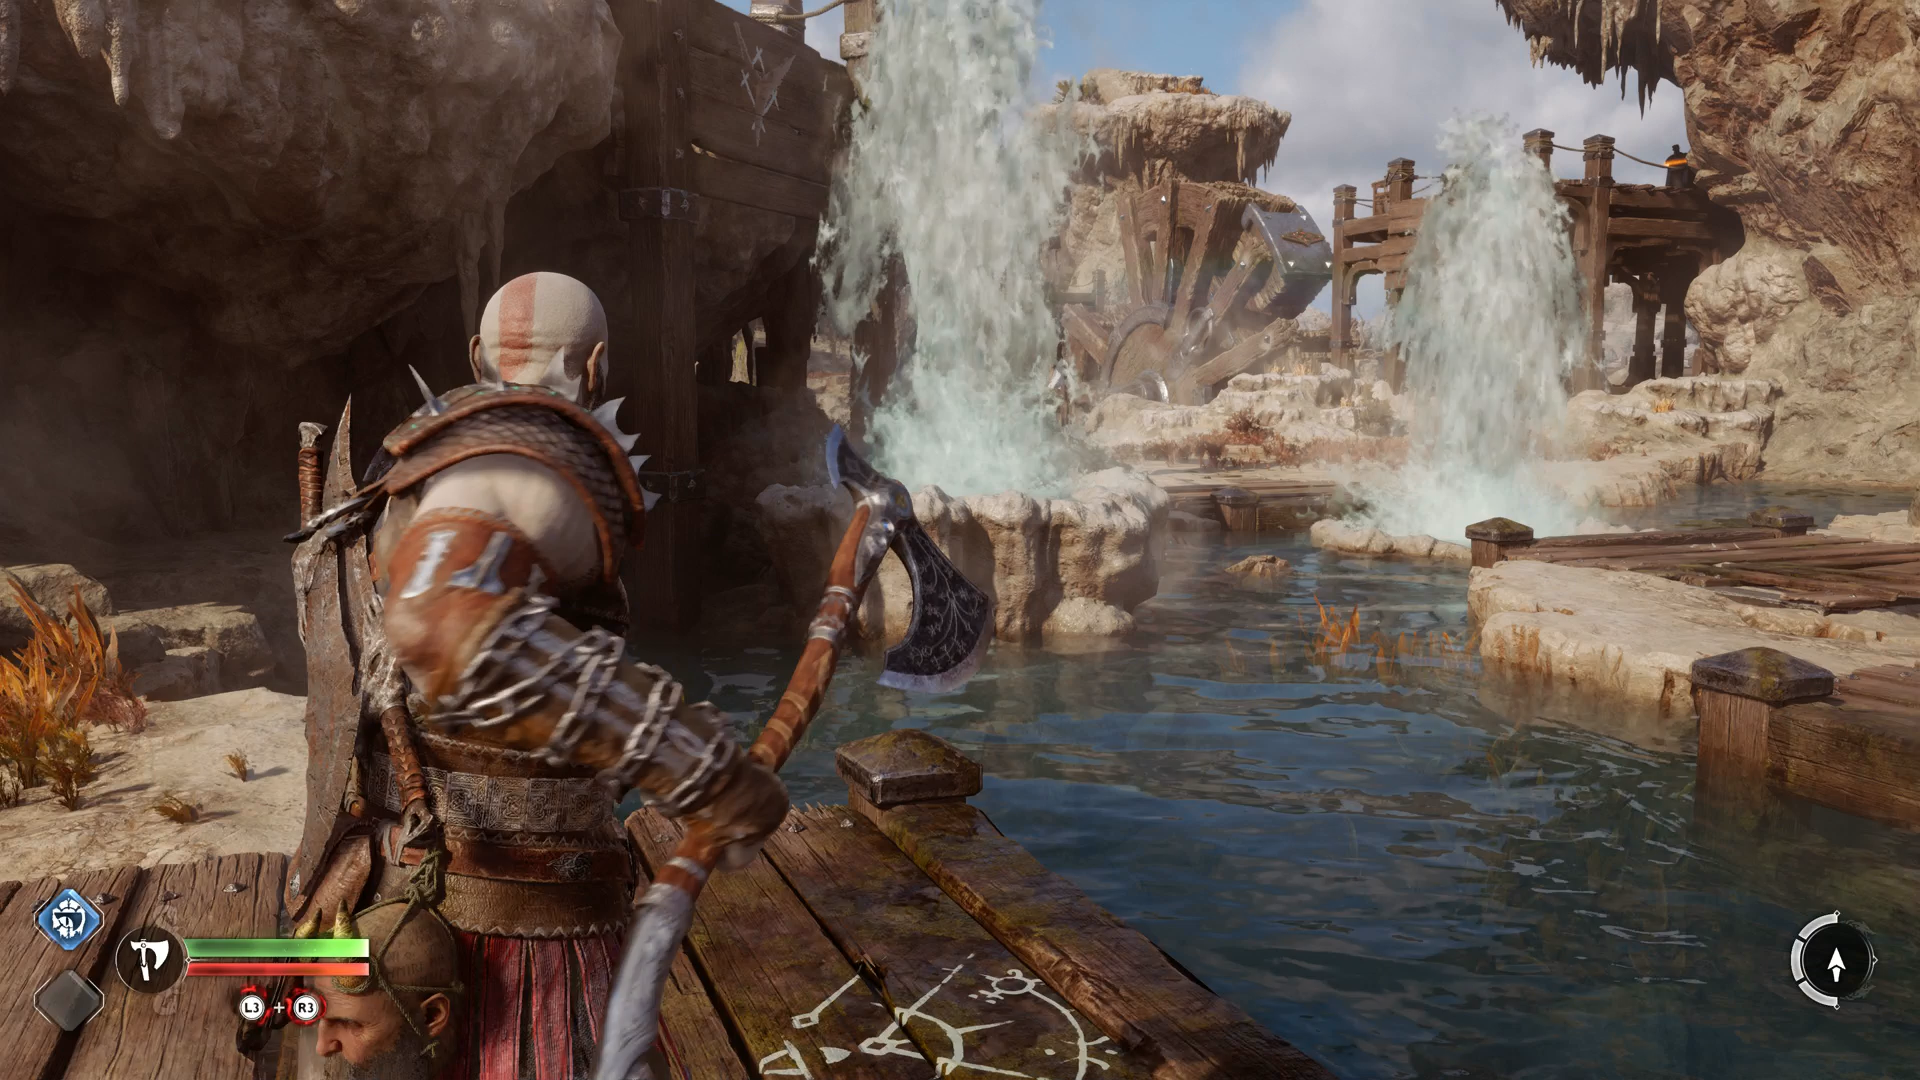
Aurvangar Wetlands Water Wheel puzzle
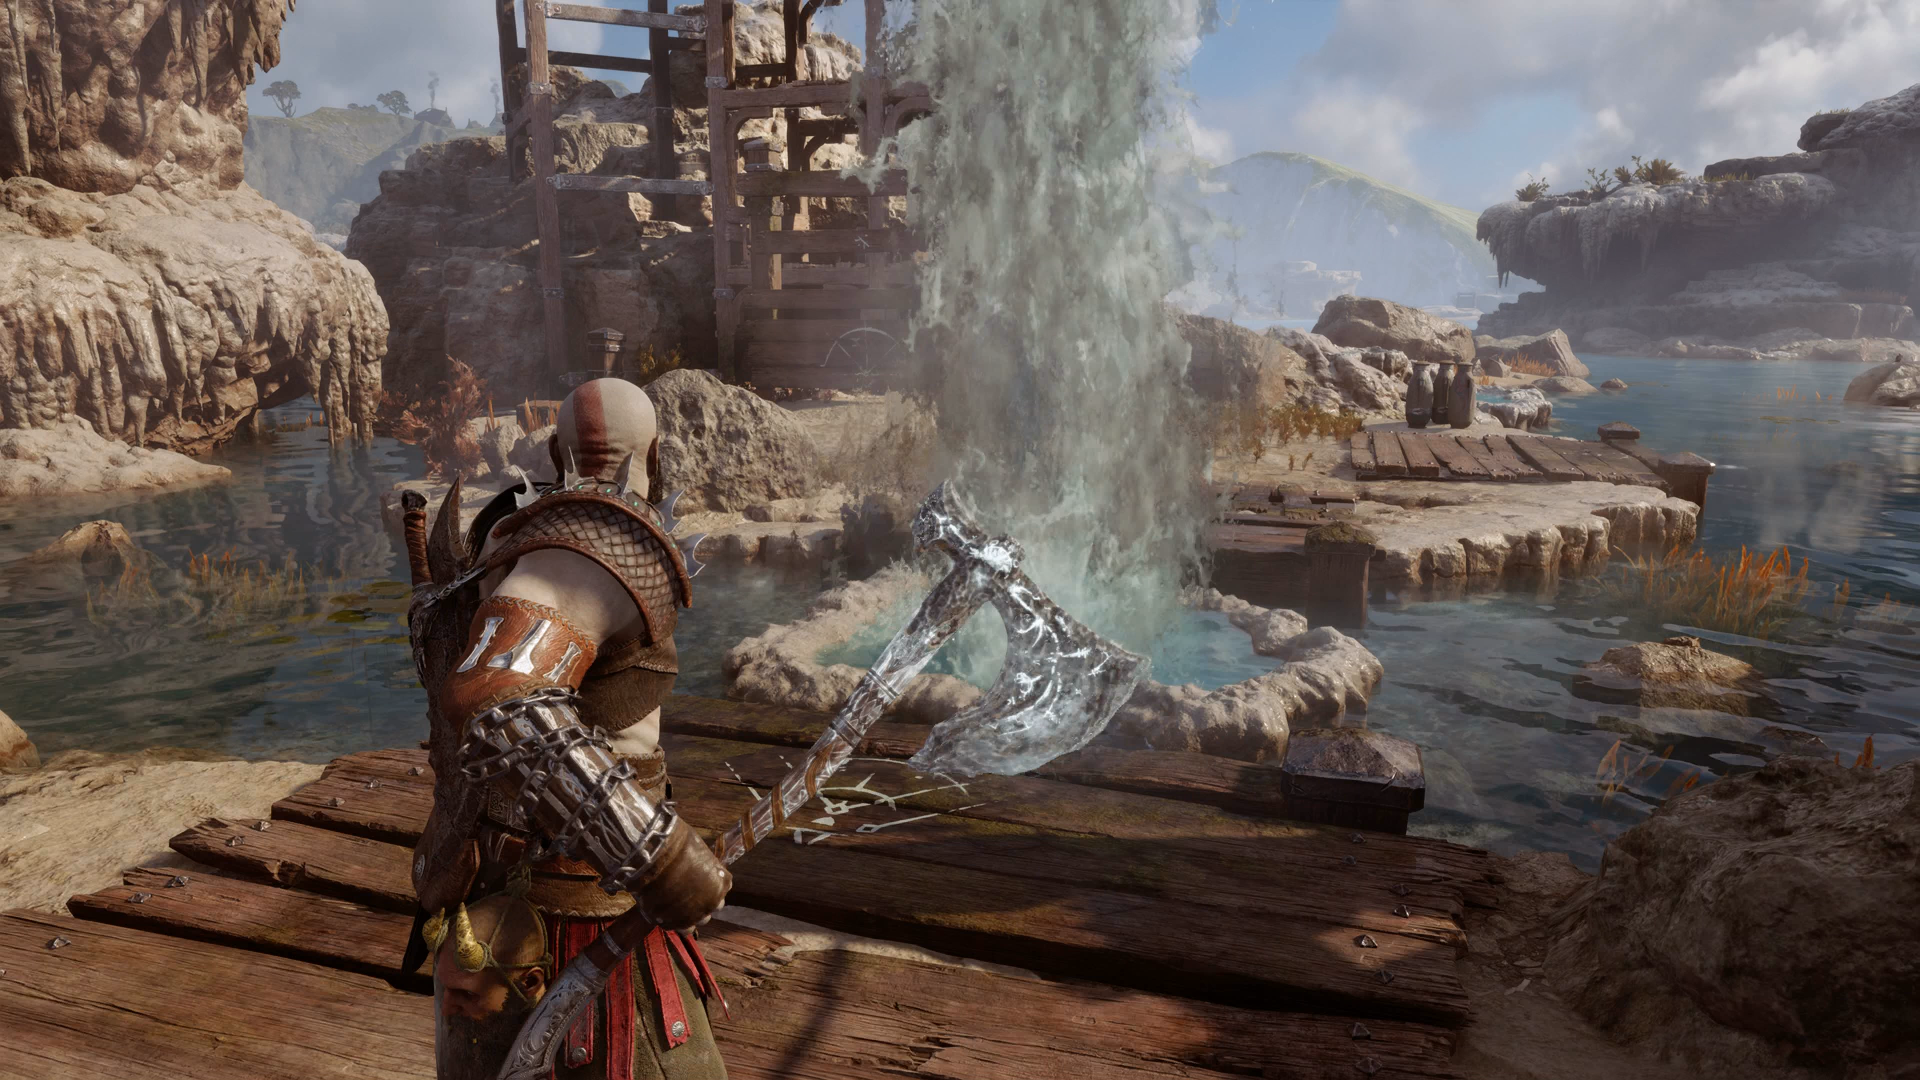
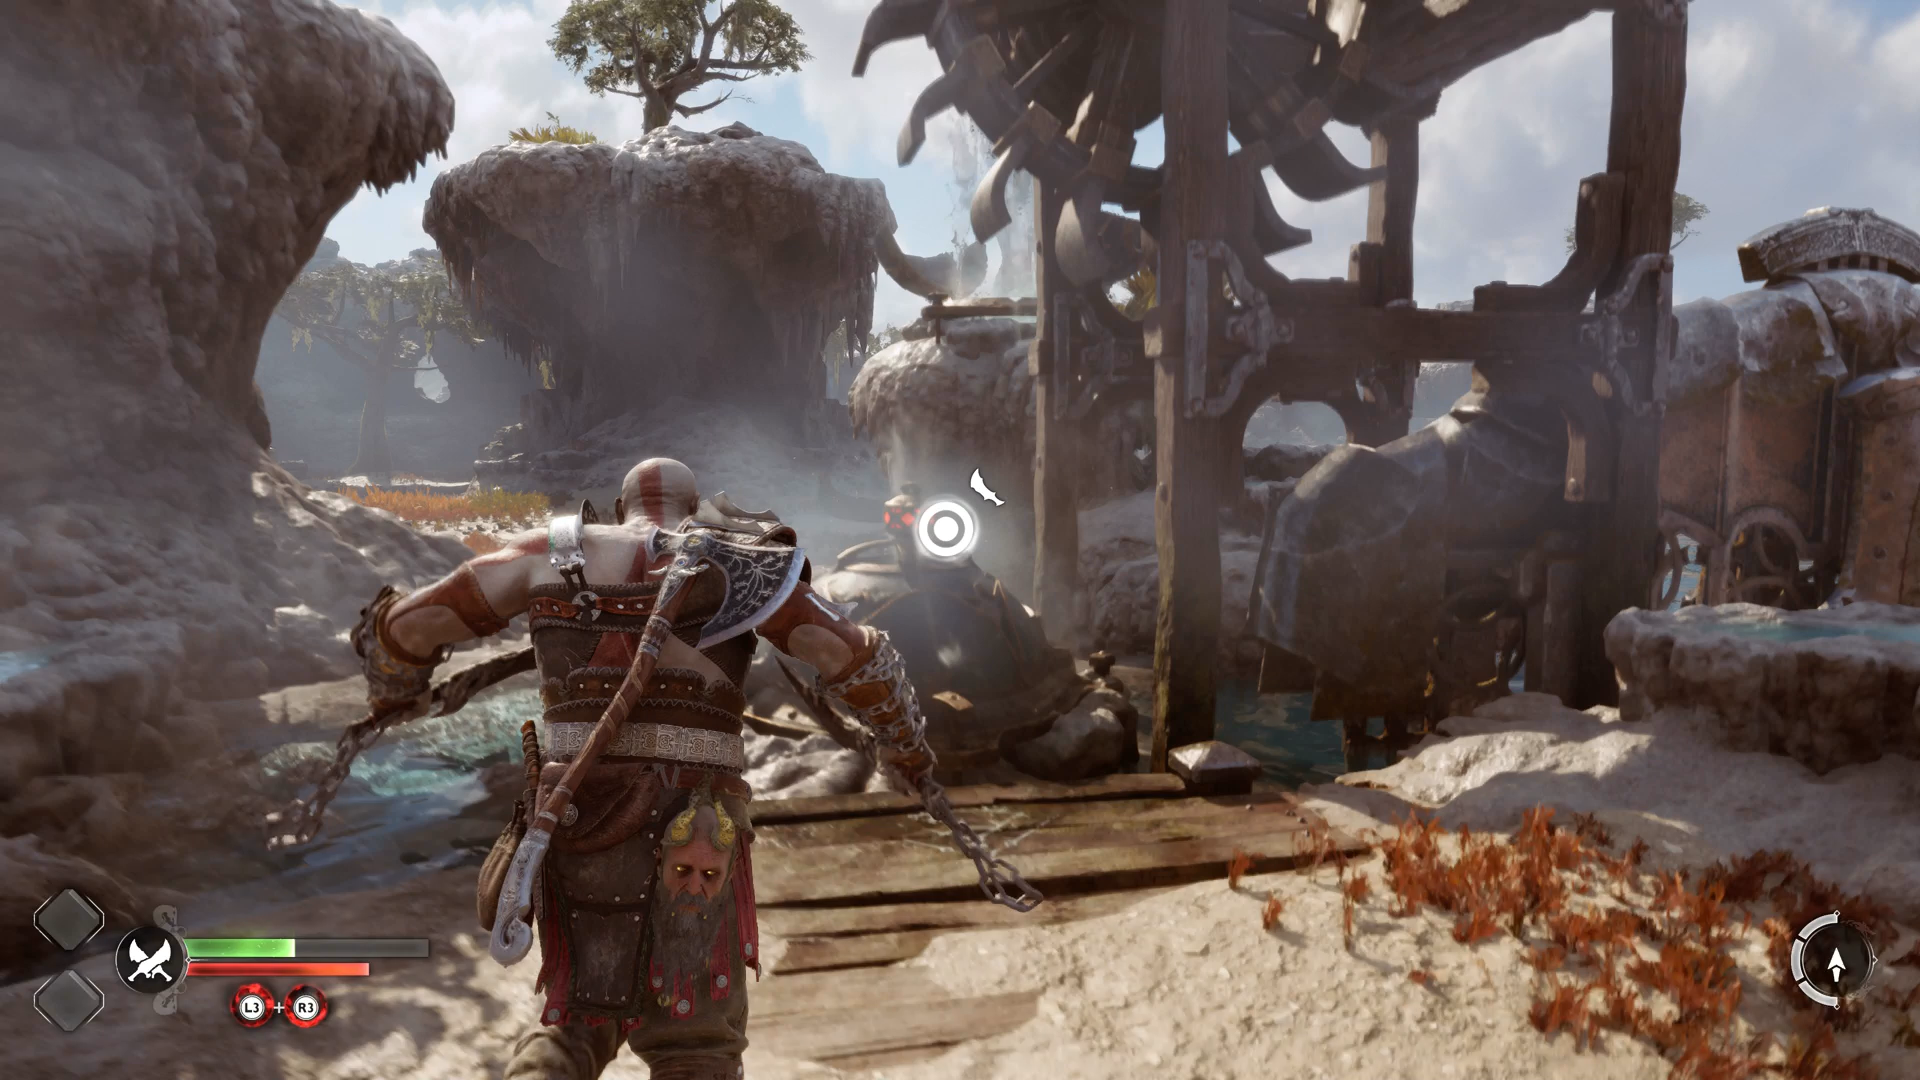
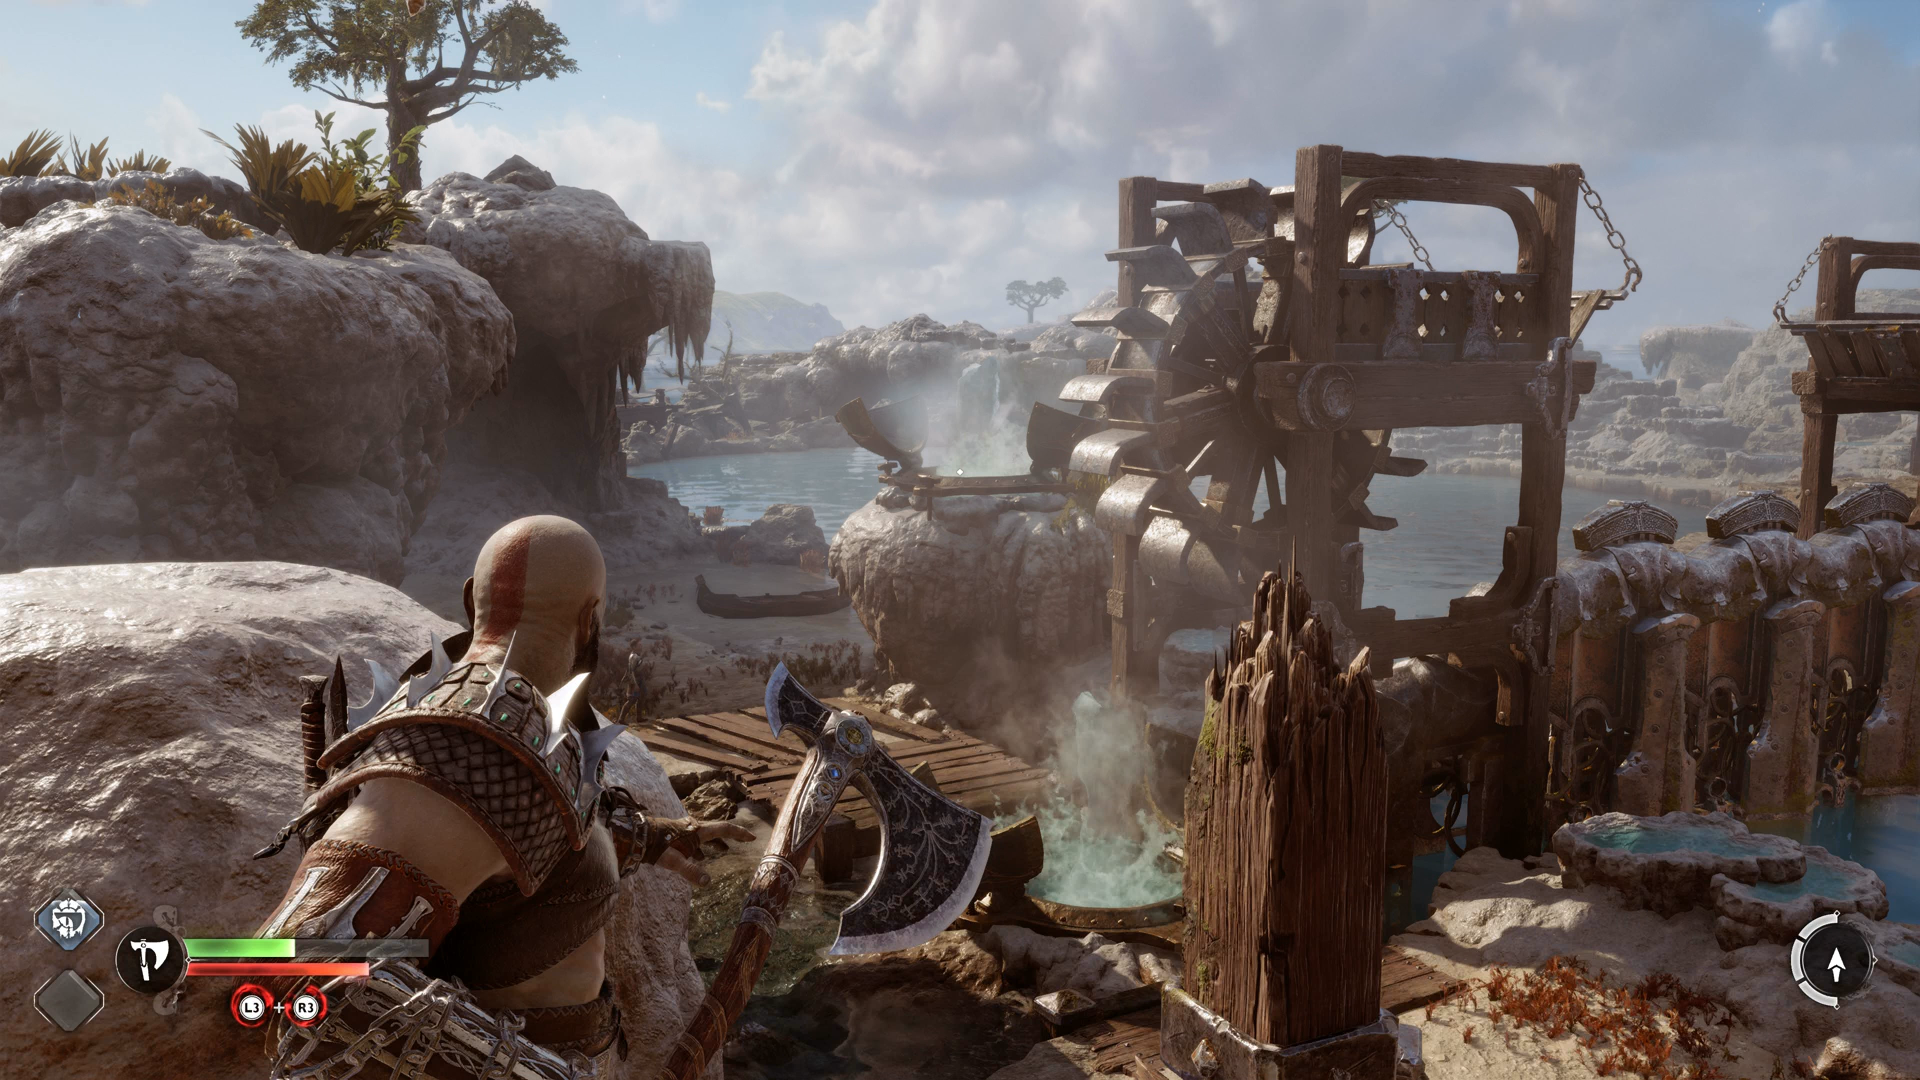
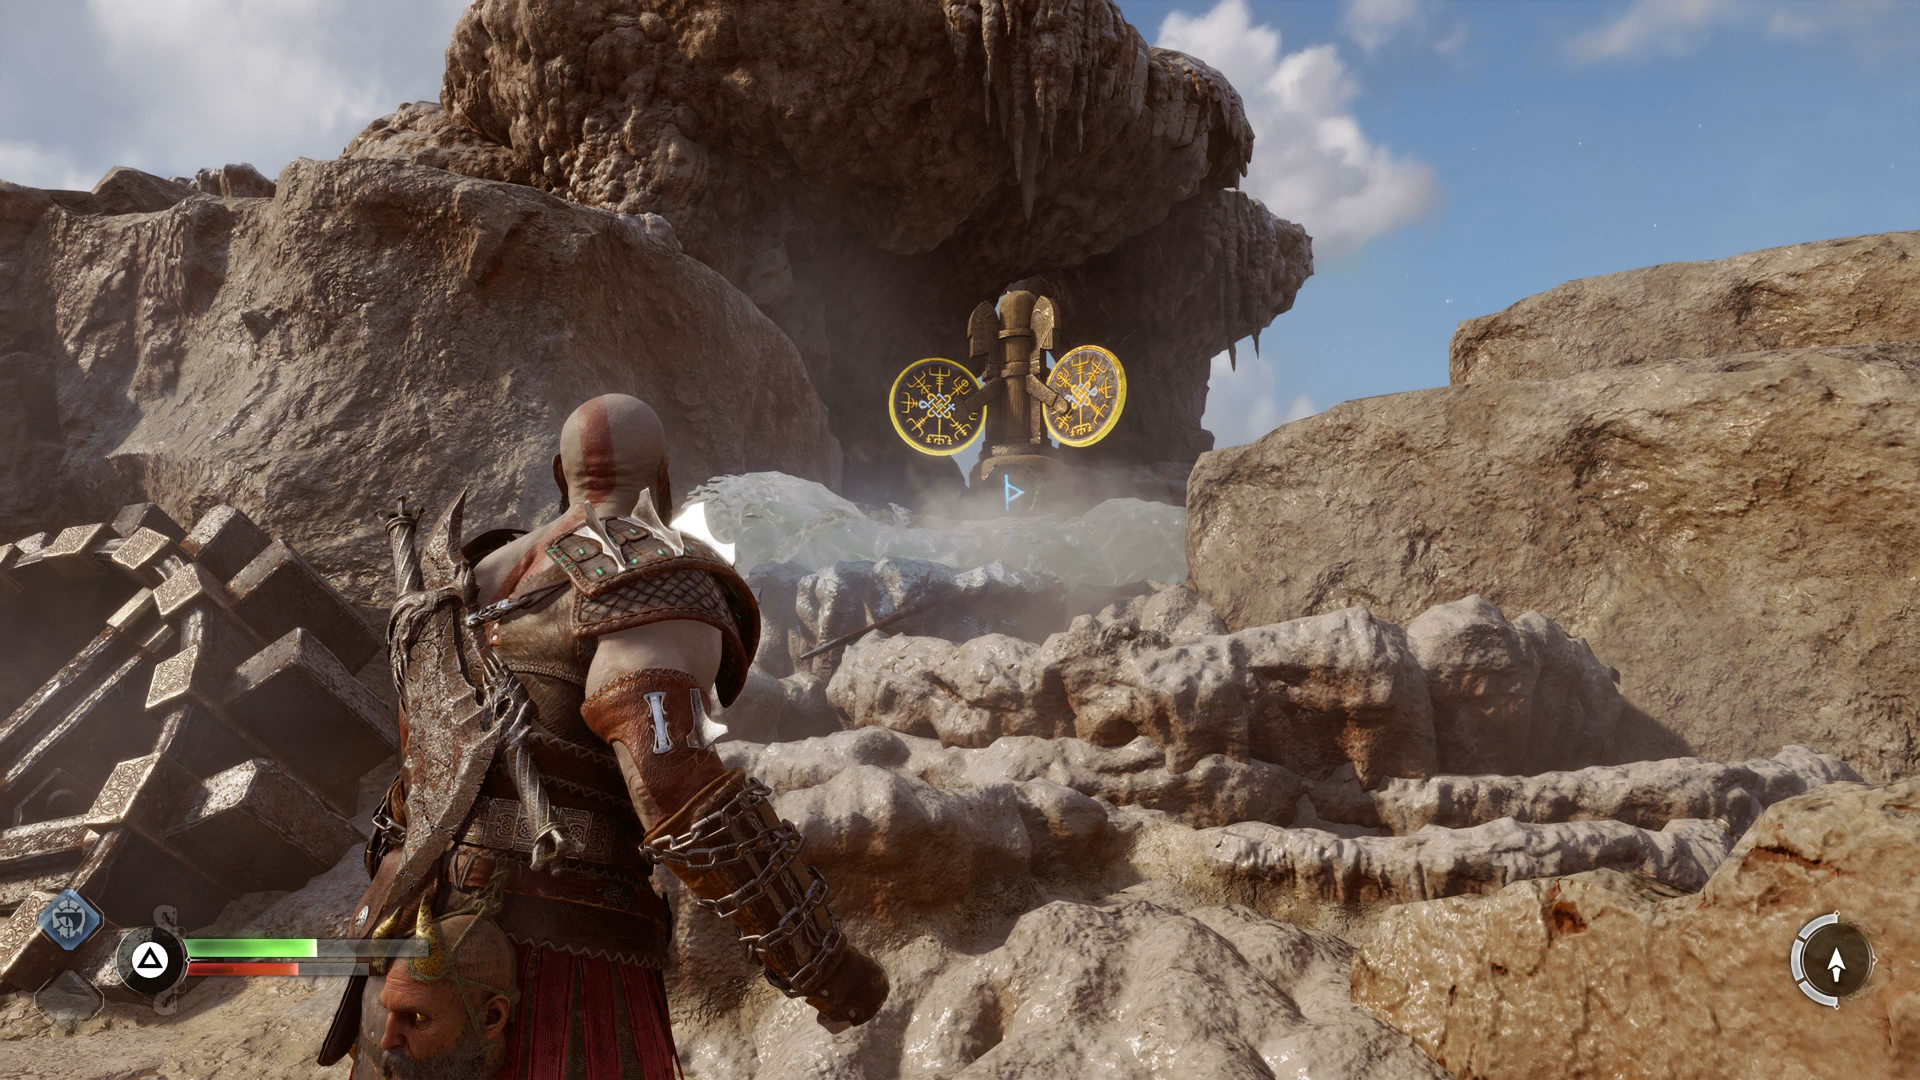
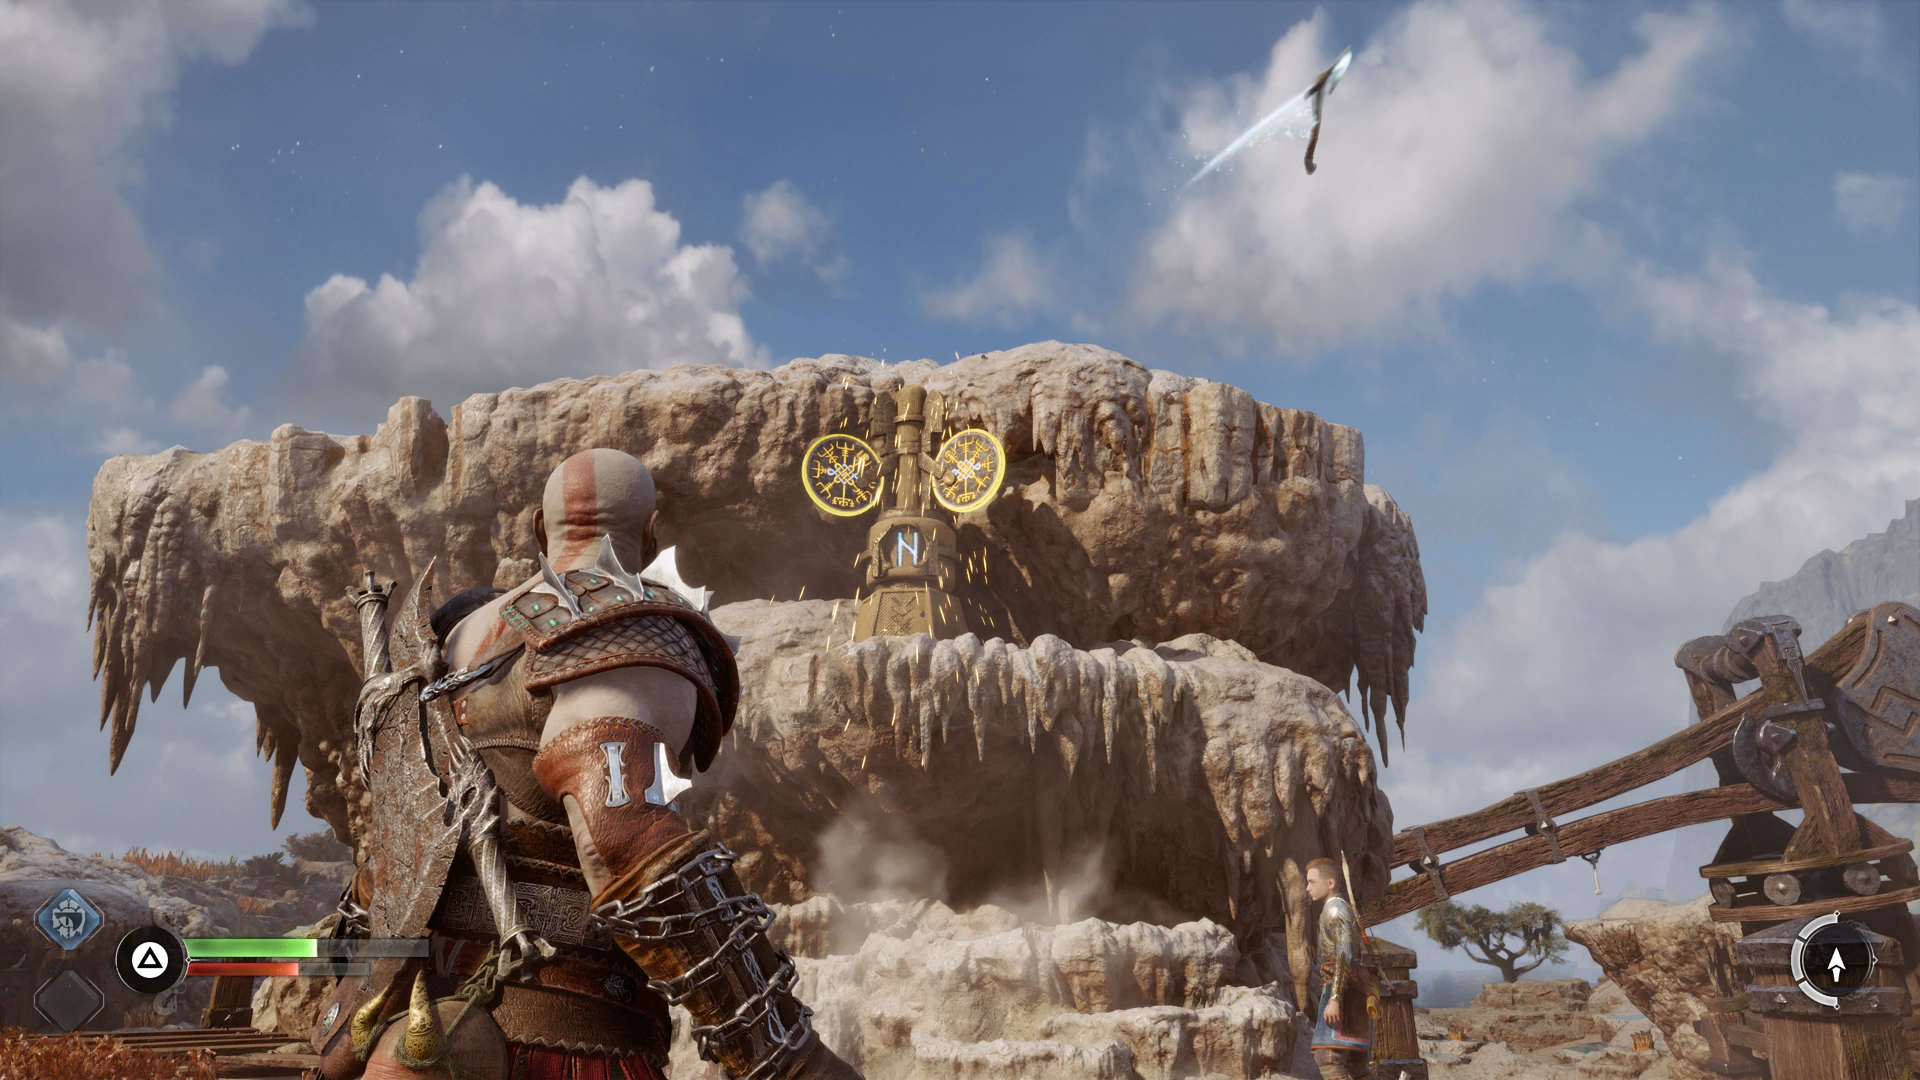
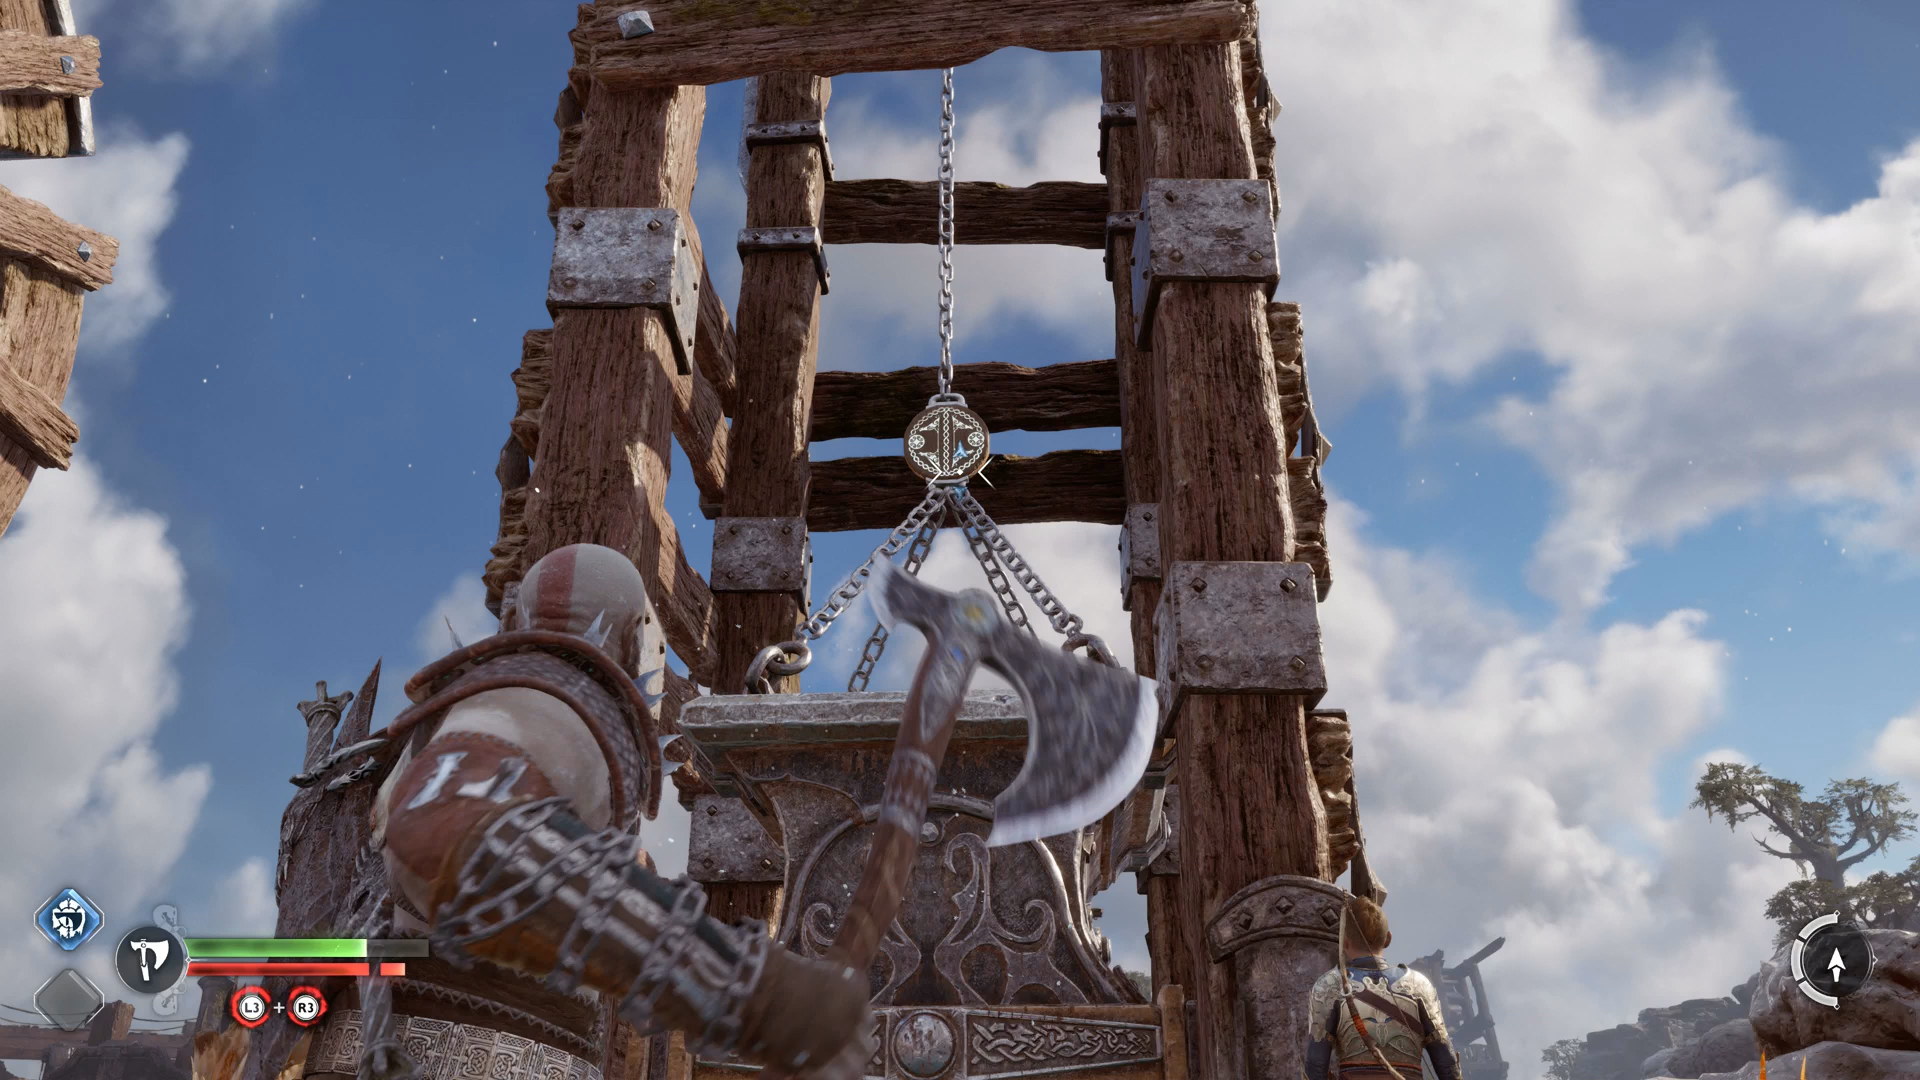
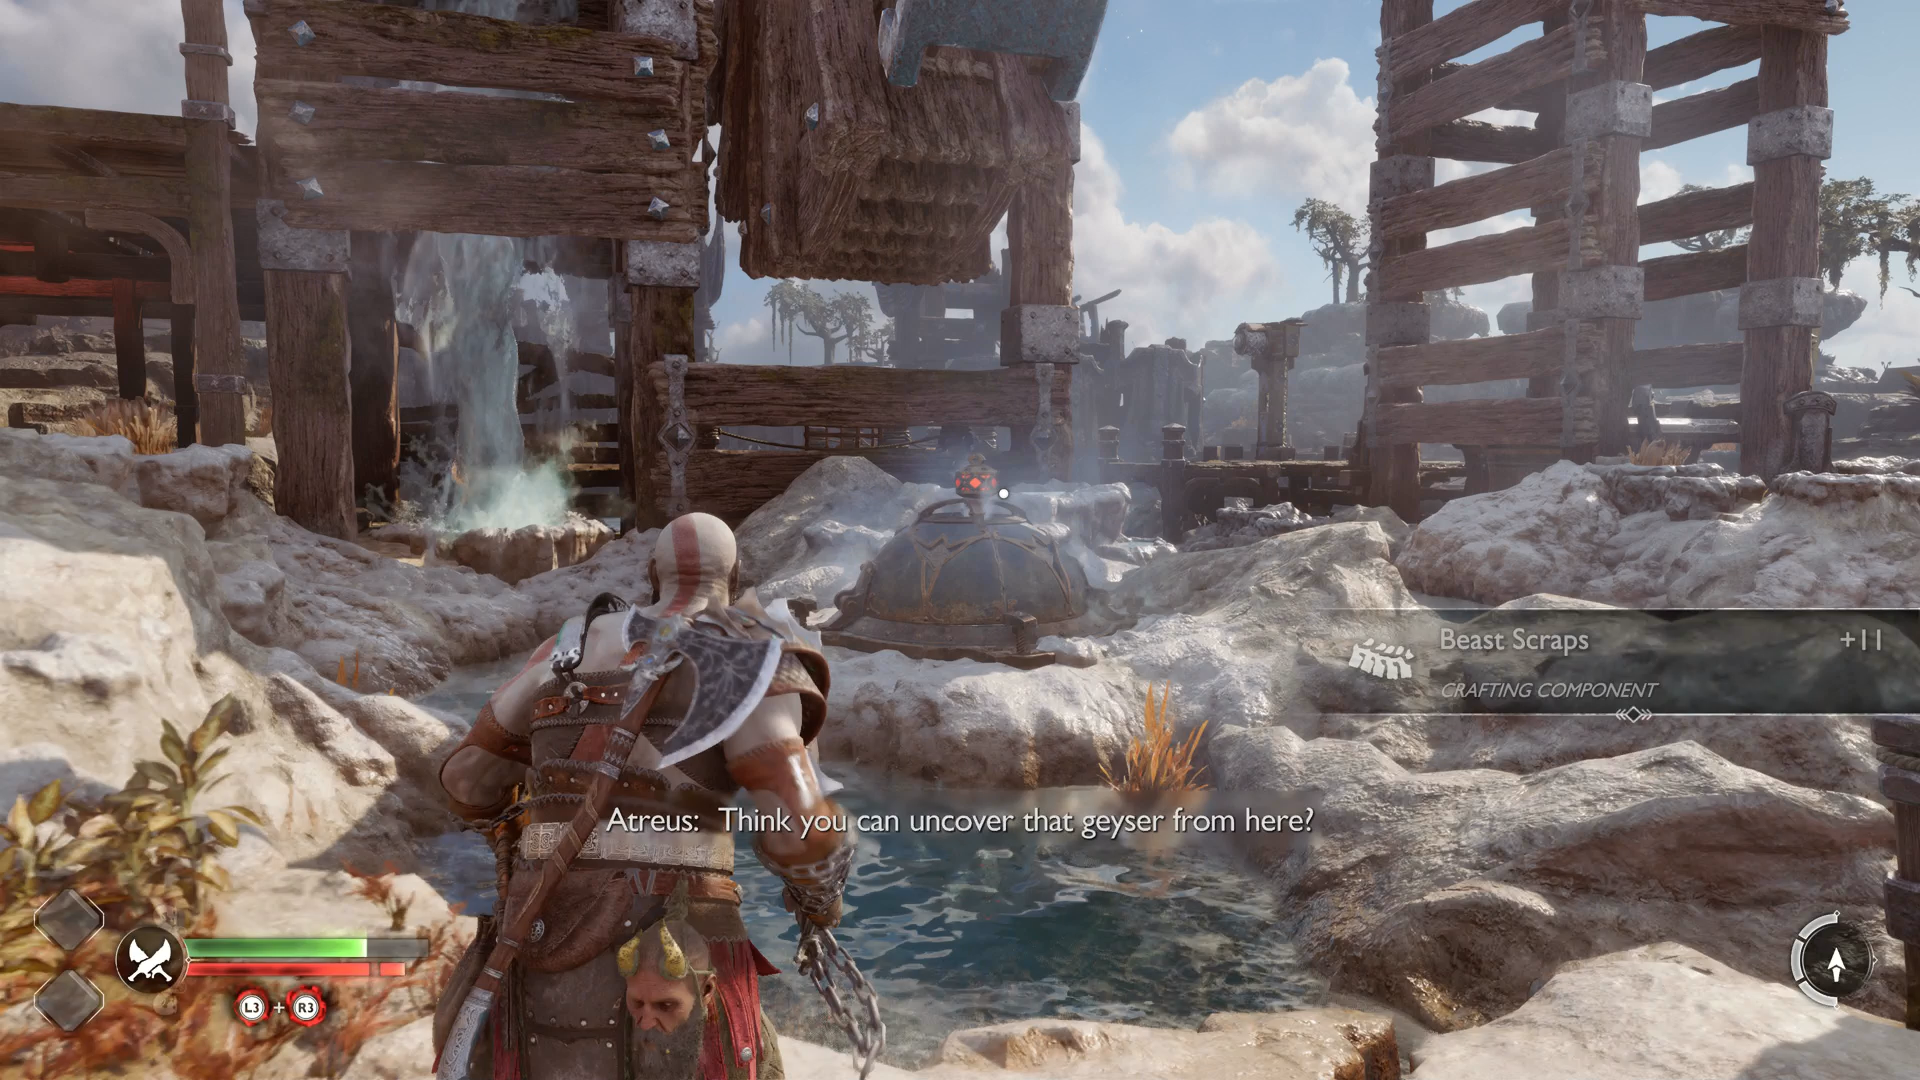
Ditch your boat on the beach on the right, then look at the geyser in front of you. Throw the Leviathan Axe into the geyser to freeze it so you can jump across. On the other side, you find the first Nornir Chest in the game. To open it you need to destroy the three nearby seals with your axe. The first is to the right of the chest, the second is on the rocks behind it. Then the final seal is on the platform behind you as you look at the chest. Freeze the geyser to reveal a grapple point, then climb up and destroy the last statue. Return to the first geyser and climb the wooden structure. At the top, slide down the zipwire and defeat the group of Grim waiting in ambush at the bottom. Once they’re done, look for the chain in the bottom corner of this area and climb it. Grab the chest on the left, then use your Blades of Chaos to roll the water wheel on the right. Kick off the shield at the end of the platform to make an easy route back to your boat, then sail through the gap in the water wheel to continue. Grab the items in this next area, then continue through the gap in the jetty. On your left is a drop of sap from Yggdrasil, the world tree, that gives a permanent bonus to your stats. Then on the right is another small beach with a chest that you can access by burning the vines with your Blades of Chaos (press L2 to aim, then R2 to set them on fire). On the right-hand side of the beach is a ledge you can climb and some more vines to burn. This gives you access to the small dock you slipped under and a chest. Then on your way back, look up above the cave and there’s a grapple point hidden behind some more vines that leads to a raised area with more items and yet another chest.
Aurvangar Wetlands Water Vent Gate puzzle
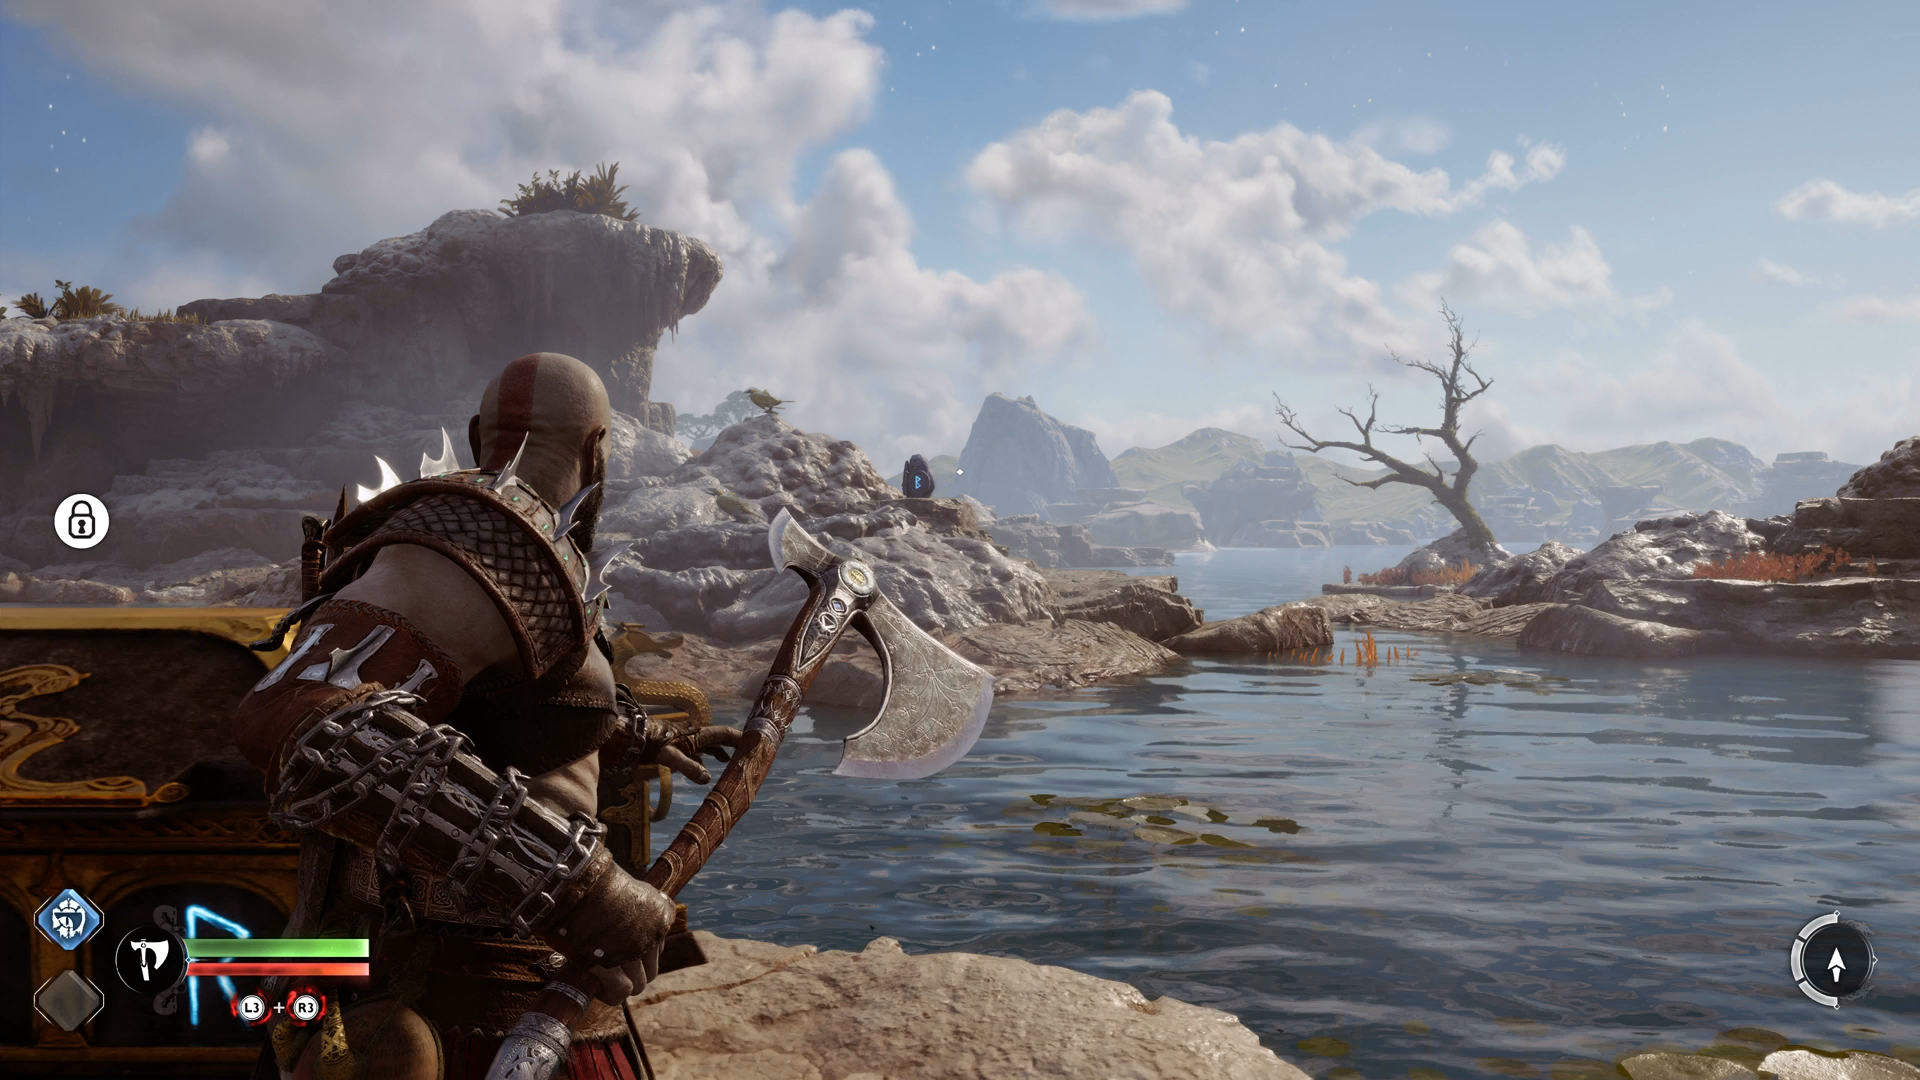
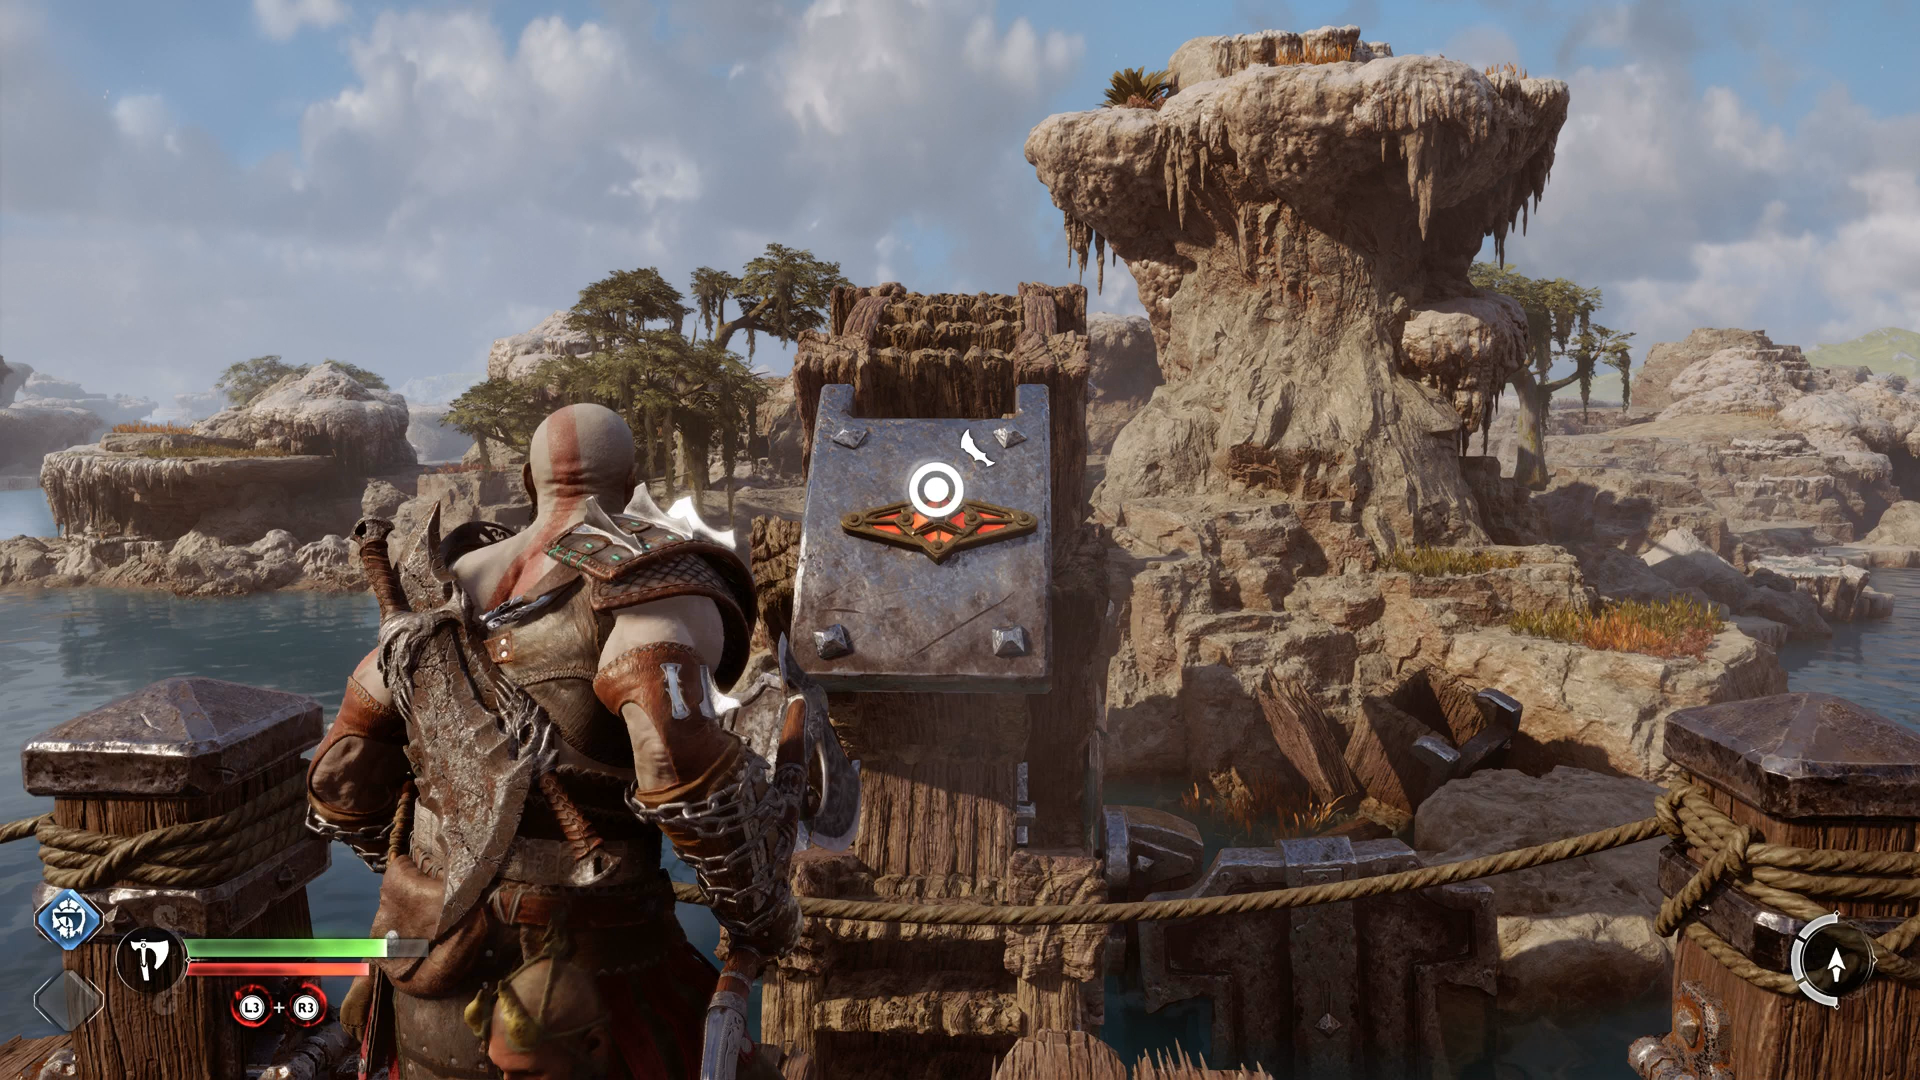
Return to your boat and paddle further downstream. When you reach the water gate, hop out at the beach on your right. Defeat the wretches and Grim that attack, then head around the far side to the left and grapple up to the ledge. Tackle some more Grim, then drop down the ledge on the other side. At the bottom, use your Blades on the water vent to prise it open. Now return to the ledge and throw your axe into the far water vent on the left to freeze it. This will raise the pressure of the other vent and send water streaming into the wheel, opening the gate. Return to your boat, head further downstream, then when you see the glowing chest up on the left-hand bank, look for an opening in the rocks to slip through. On the other side you find a load of great stuff. Grapple up to the left to grab the chest you saw from the river, which contains some stat-boosting handles for your Blades of Chaos. But on the right is another rune-locked Chest. To open this one, you need to spin the three mechanisms to the correct symbols. The first one is behind the geyser to the right of the chest, freeze the geyser so you can see the symbol, then recall your axe and throw it through the water - you should need to hit it once to show the rune that looks like a “D”. The second one is behind the big metal structure behind the chest. Spin it twice to show the “B”. The last spinner is above the chest, on the same level as the other glowing chest. Spin it to show the rune that looks like a big “N”. With all that gathered, return to the boat and press on up the river.
Aurvangar Wetlands Second Water Gate puzzle
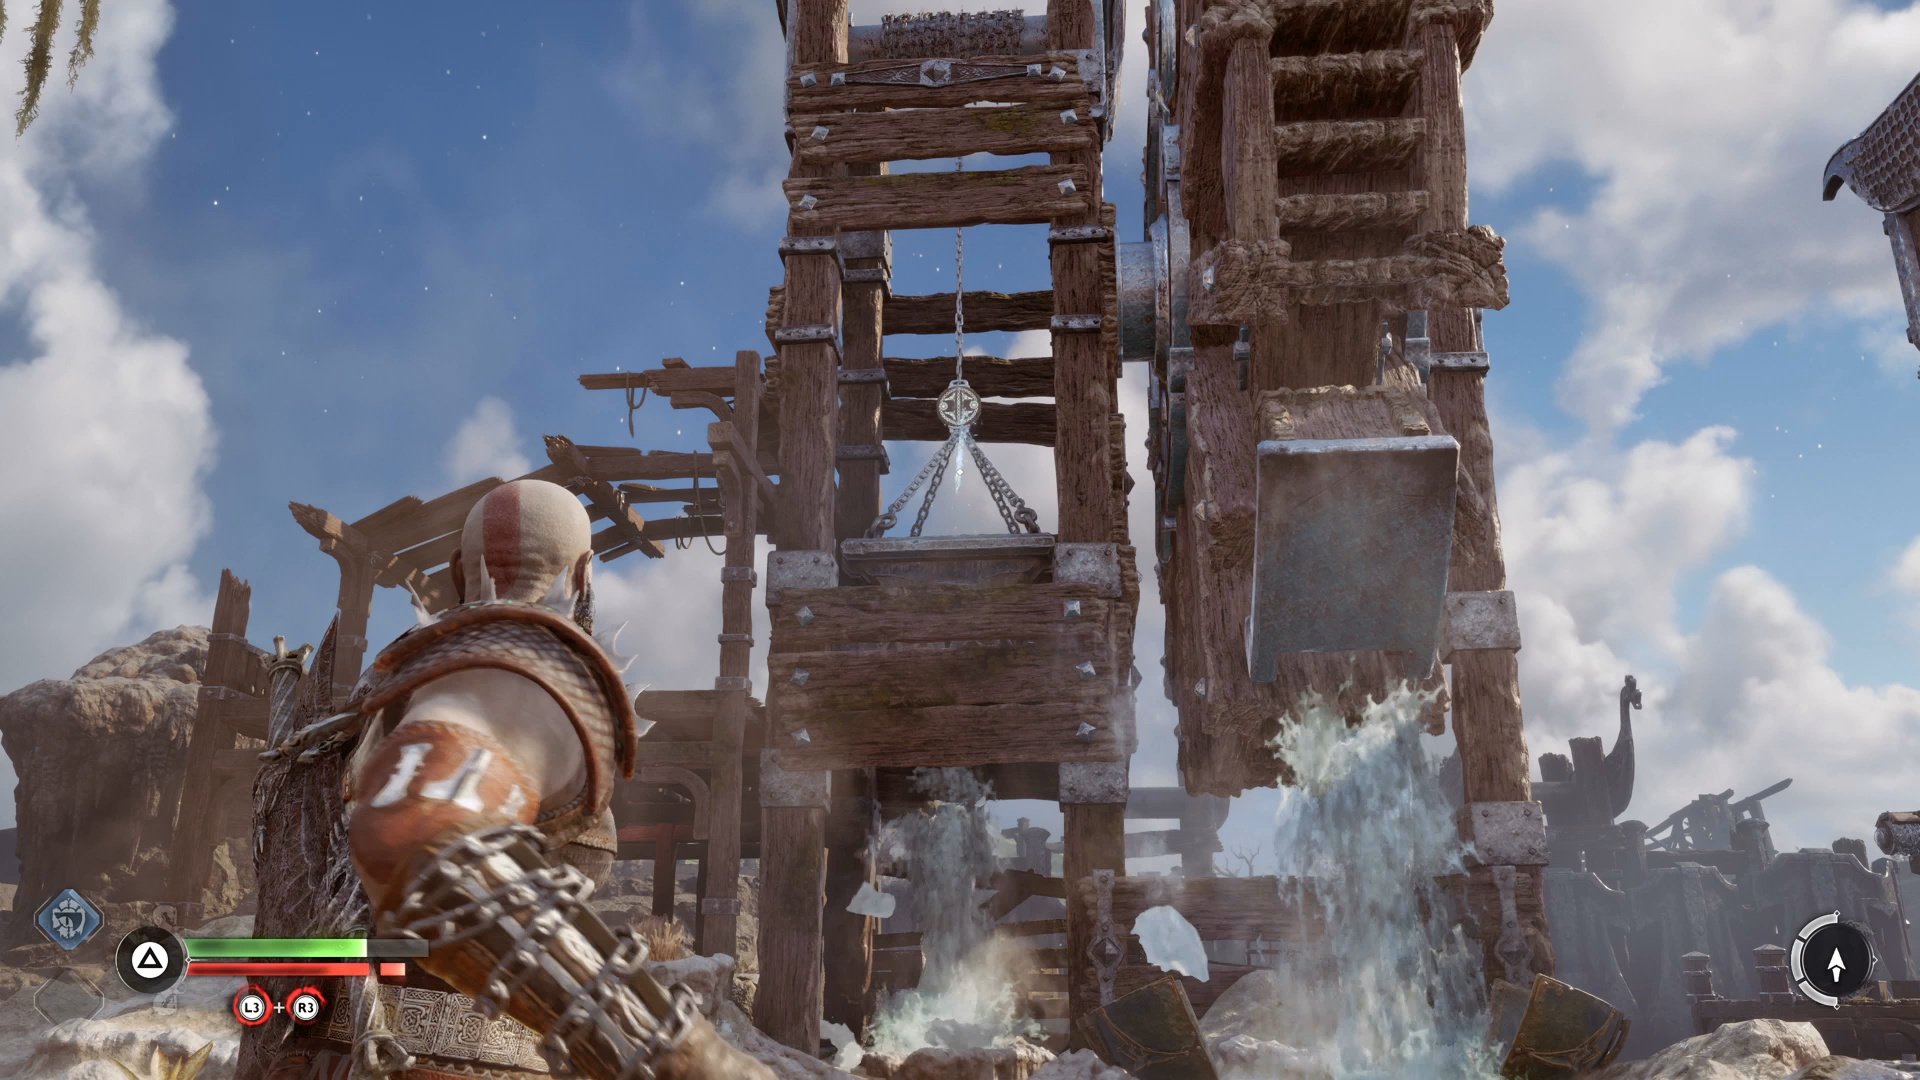
When you reach the next wate gate, continue around to the right and get out at the beach. There’s an enemy here you can only defeat from behind, so hop across to the wooden huts on the water and throw you Axe at it to get some items. Now, continue to the end of the path then look above the huge metal weight. There’s an axe target here you can hit to drop the weight down so you can climb across. Roll the chain on the other side all the way down to the bottom to open the first half of the gate. Next, hop across to the other side of the dock and freeze the geyser under the wheel. Jump across and defeat the enemies that appear. Follow the path around and yank open the water vent at the end. Now when you freeze the first geyser you jumped across, it will spin the giant water wheel. Freeze that geyser, wait for the weight to reach the bottom of the structure, then recall your axe. As the weight rises again you will see an Axe target you can hit to break the chain holding the weight. Smash it, then go and climb on top of the weighted block. While on top of the block, turn around and throw your axe at the other water vent to force the block you’re standing on to rise. This gets you up to another level with a chest and the chain you need to pull to open the vent. Now return to your boat and paddle downstream until you reach the docks of Nidavellir.
Finding Durlin in Nidavellir
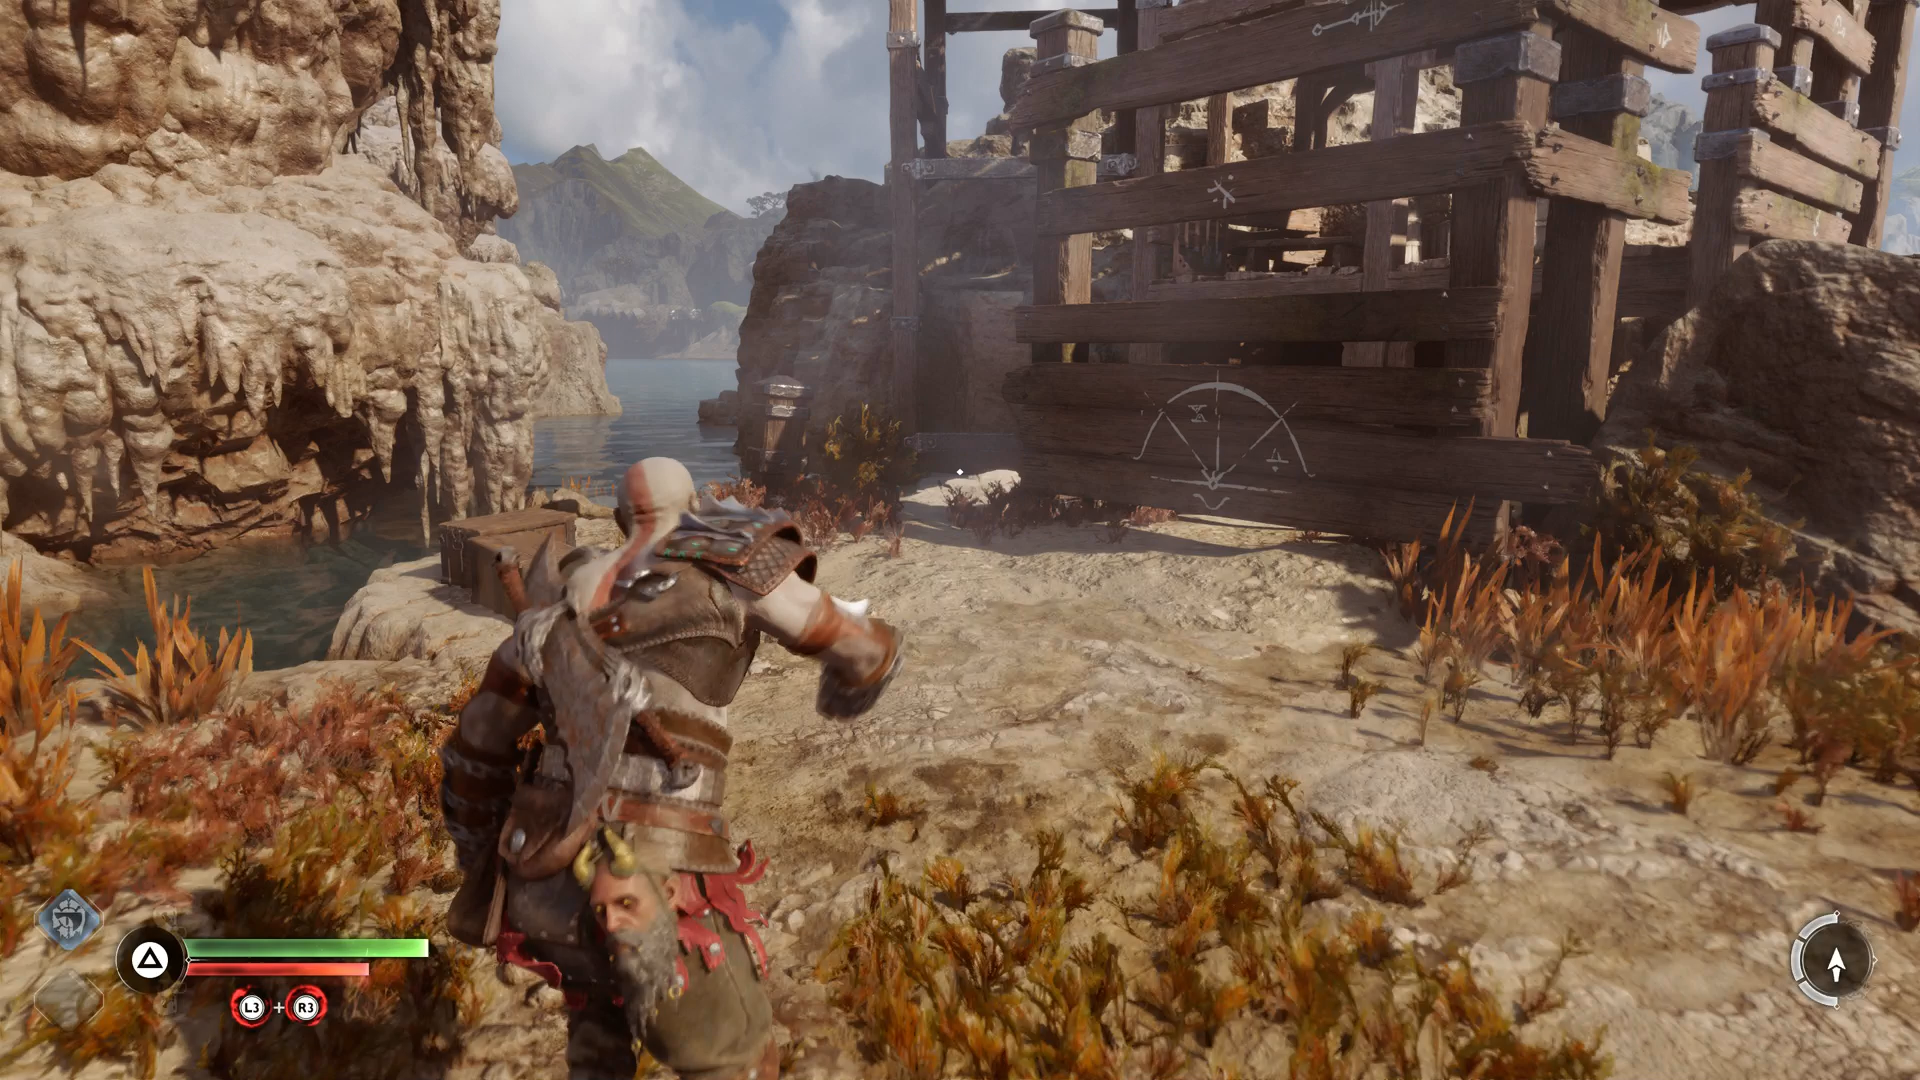
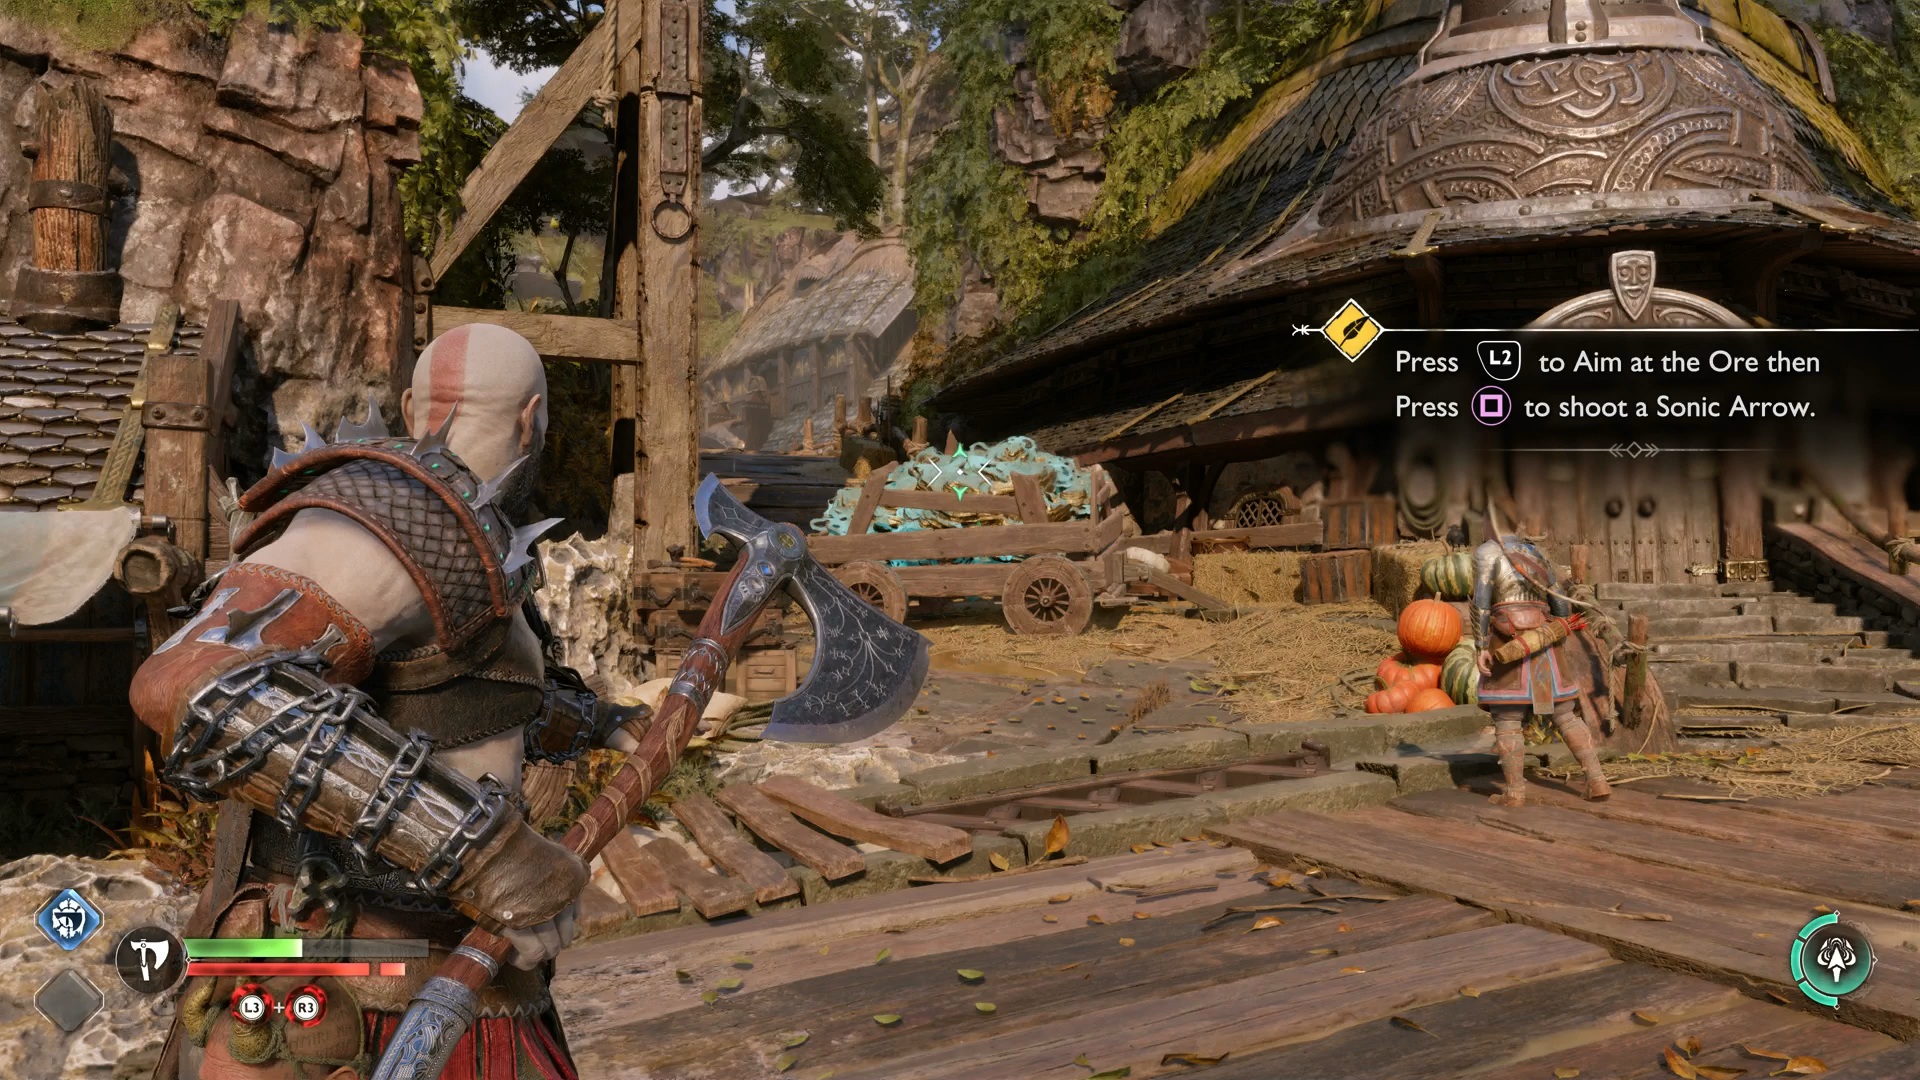
Disembark and wave goodbye to your boat, then make your way up the planks to the city. Next to your boat is a shimming green blockage which you can see some items behind, leave this for now because you will be able to get through it in just a second. In the town square you meet up with Sindri, who’s set up shop in Svartalfheim. On top of a house to the left of Sindri is another of the green birds spying for Odin to destroy. Approach Sindri’s shop and he’ll equip Atreus’ bow with a new attachment that can destroy shimmering green objects. Test it out on the grate, then defeat the enemies that appear. Once they’re defeated you can go back to the blockage next to your boat at the dock and grab the items, then go back to the gate and squeeze through it. On the other side, leave the small chest on your right - you can’t access it until much, much later in your adventure. To get to the tavern, look for a cart of shimmering green rocks on the left of the main street in front of you. Ask Atreus to shoot it, then go down that path over the bridge. There are some items to collect below you, so drop down if you wish and circle back to where you were. On the other side of the bridge is a cart you can roll to the side, behind it is the door to the tavern. Inside you find the bard, Raeb. Speak to him about Durlin and he tells you his office is out the other side of the tavern and to the left at the fork. Go through the far door of the tavern and you will reach another boat dock. Here you can either take a left to Durlin’s office, or you can take a right into God of War Ragnarok’s first big exploration area, the Bay of Bounty where you can take on the In Service of Asgard Favour to destroy the Mining Rigs you just received. Taking the diversion to the Bay of Bounty is highly recommended because not only can you find other Favours like The Weight of Chains - which is also good - but you get the materials for one of the best armor sets in the early game from traversing this area too.