During Chapter 11 of Dead Space, it’s Isaac’s job to move The Marker and get it sent off to somewhere it’ll be safer, and can’t cause more problems. However, this is Dead Space, so as Isaac does this, he encounters a fair few issues in the process. In this guide, we walk you through how to complete Chapter 11 of Dead Space.
Dead Space Chapter 11: Alternate Solutions
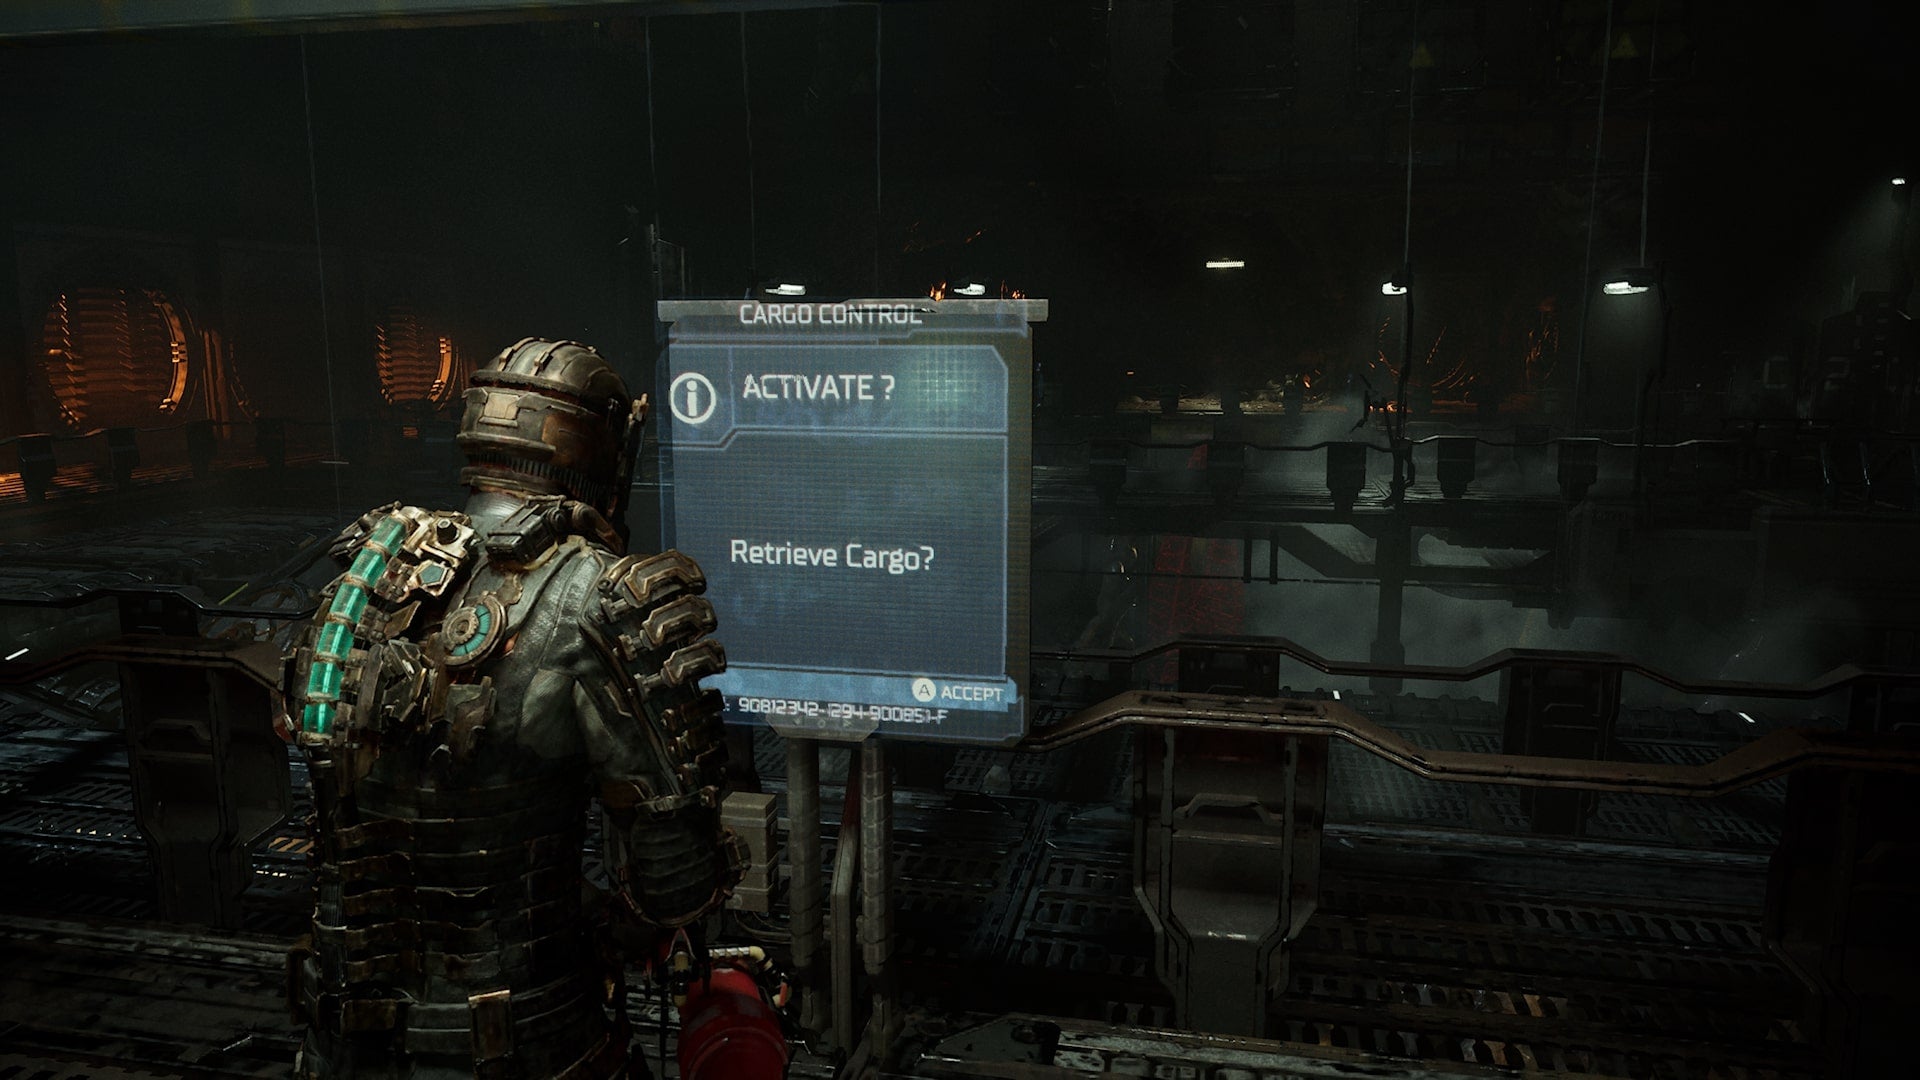
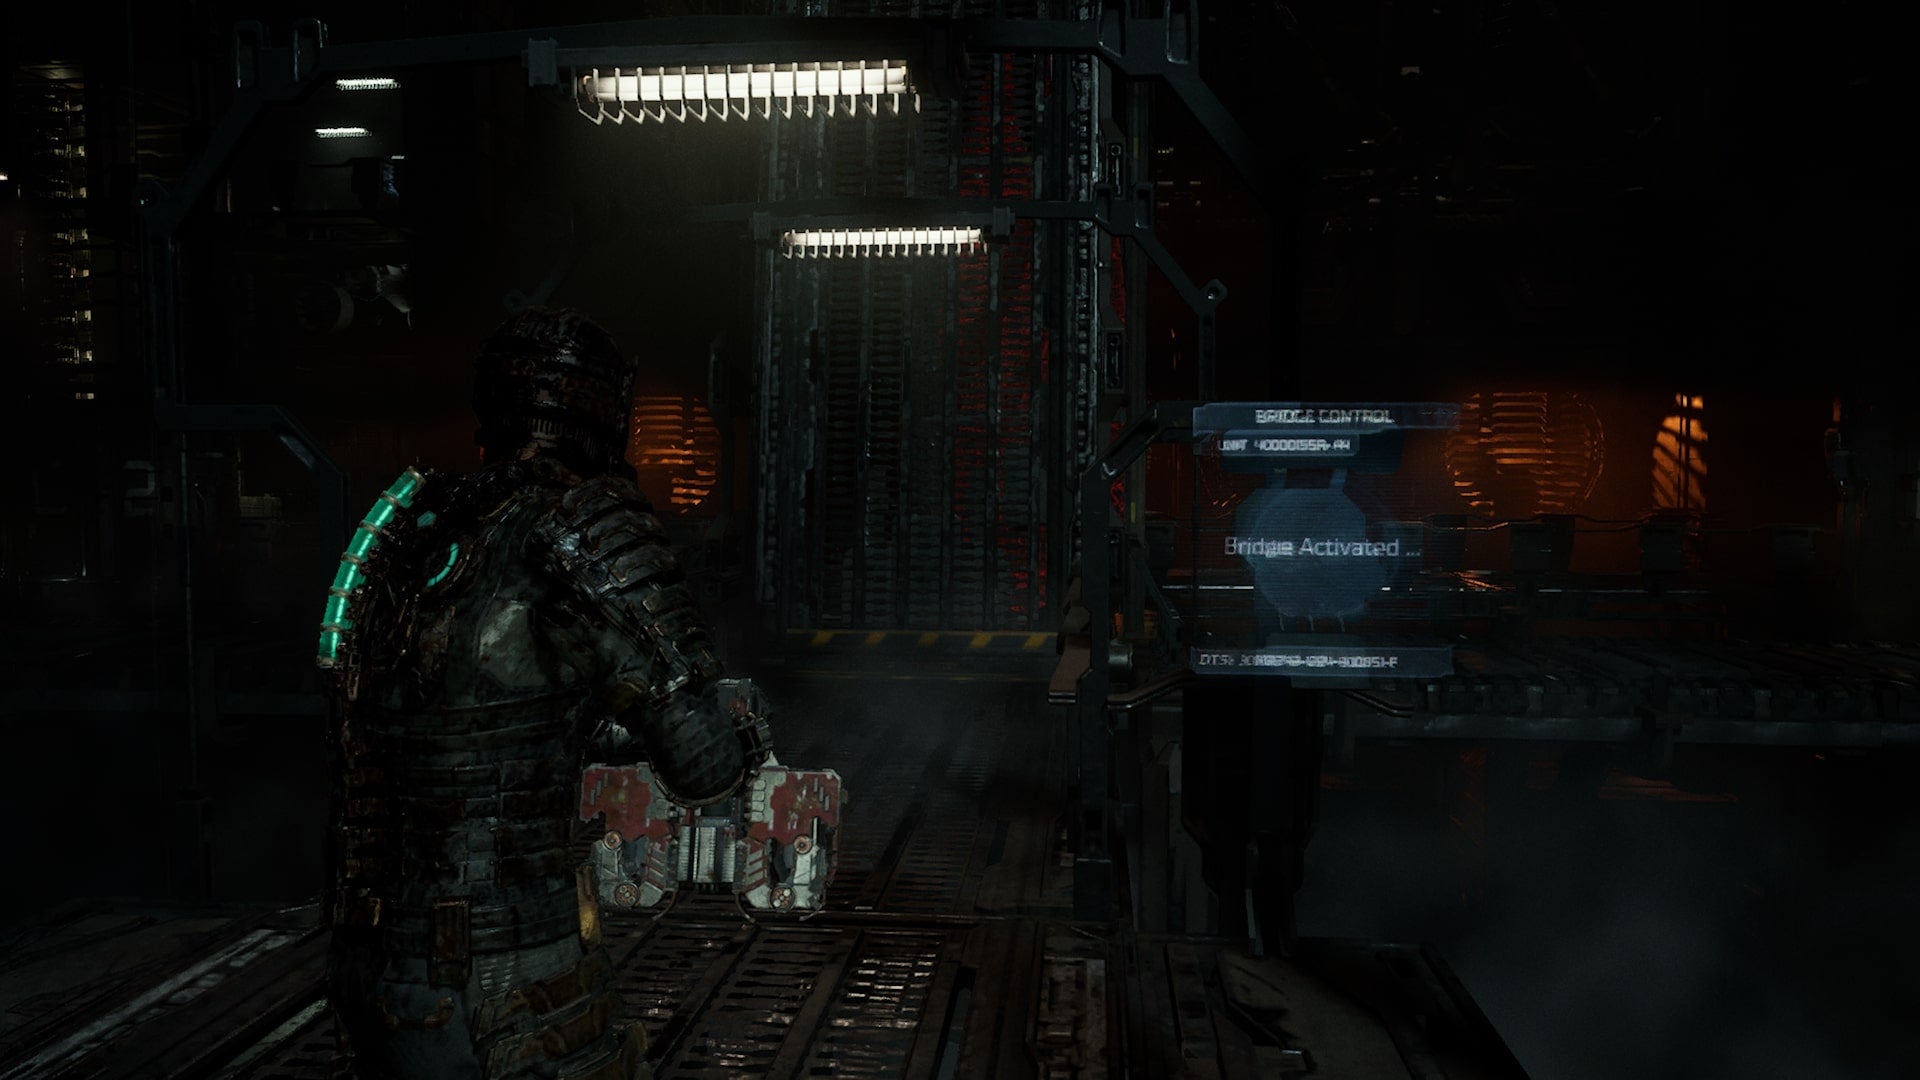
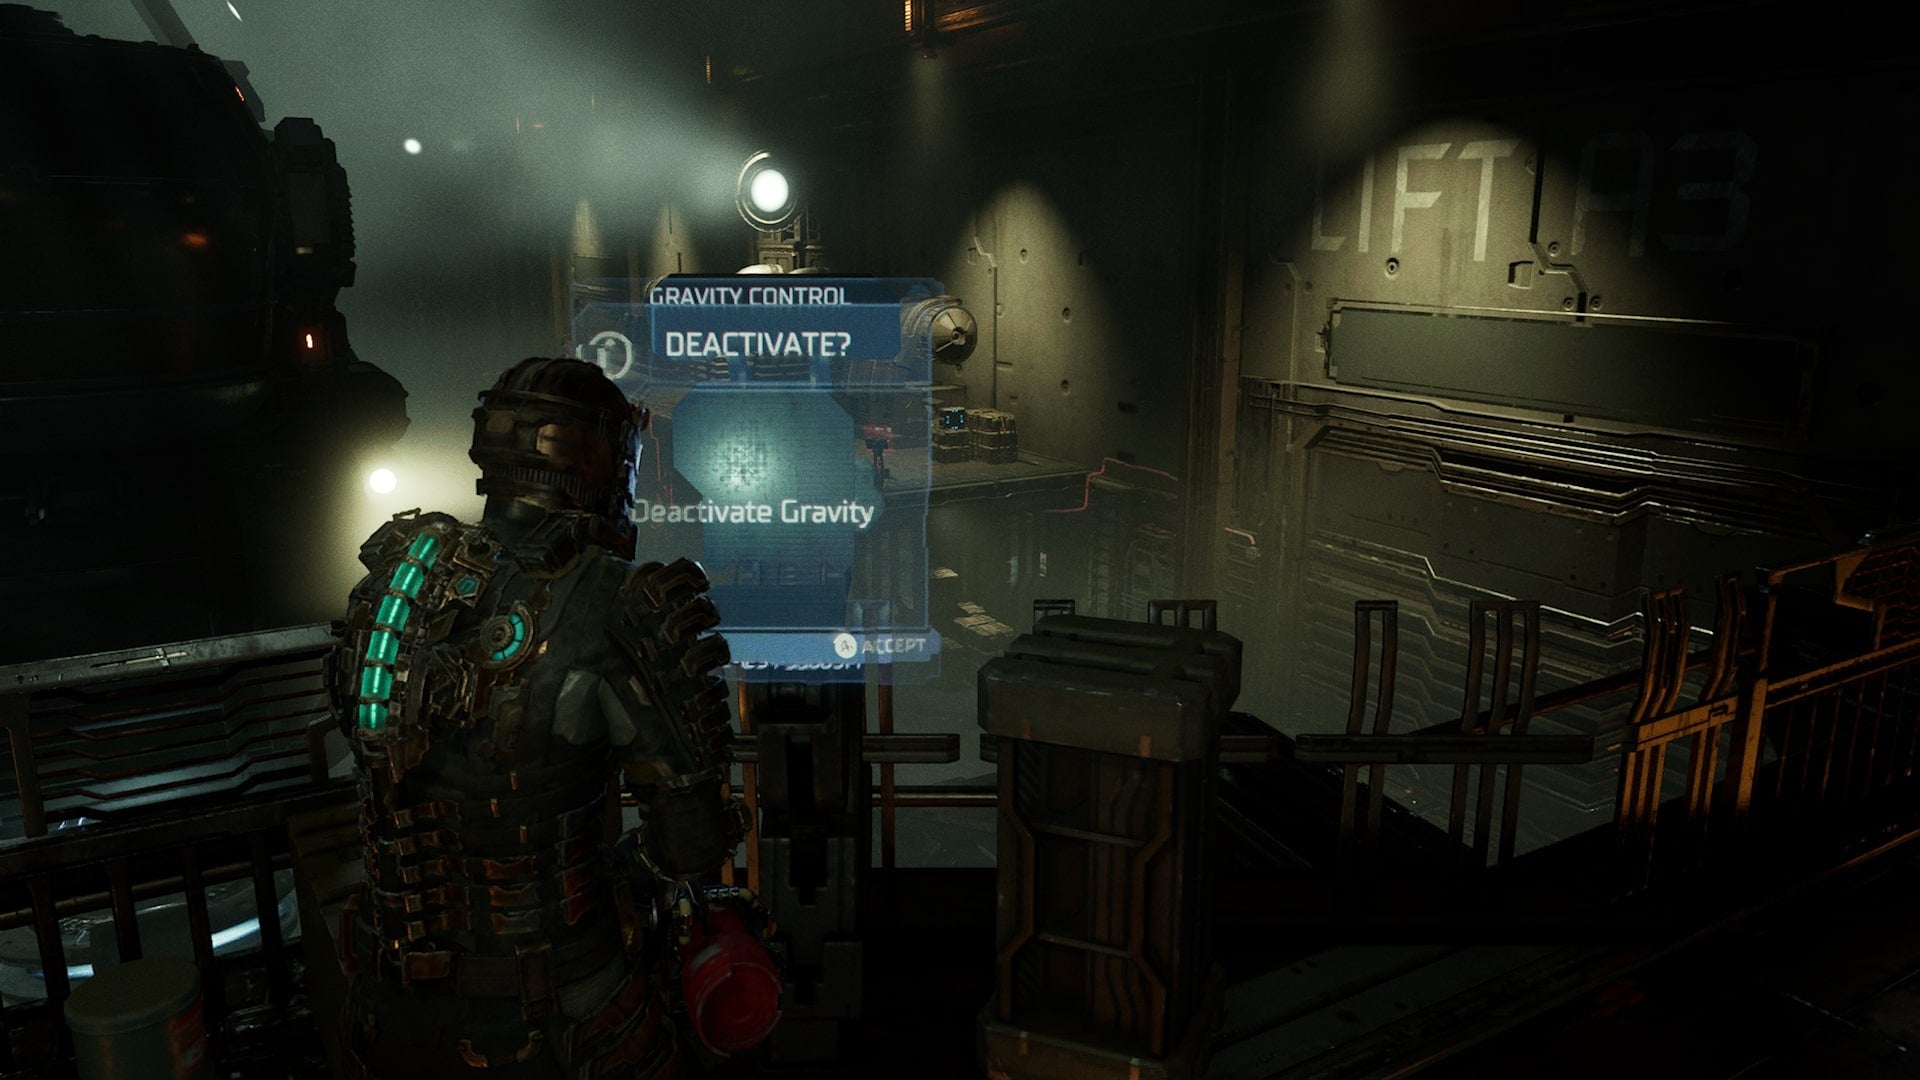
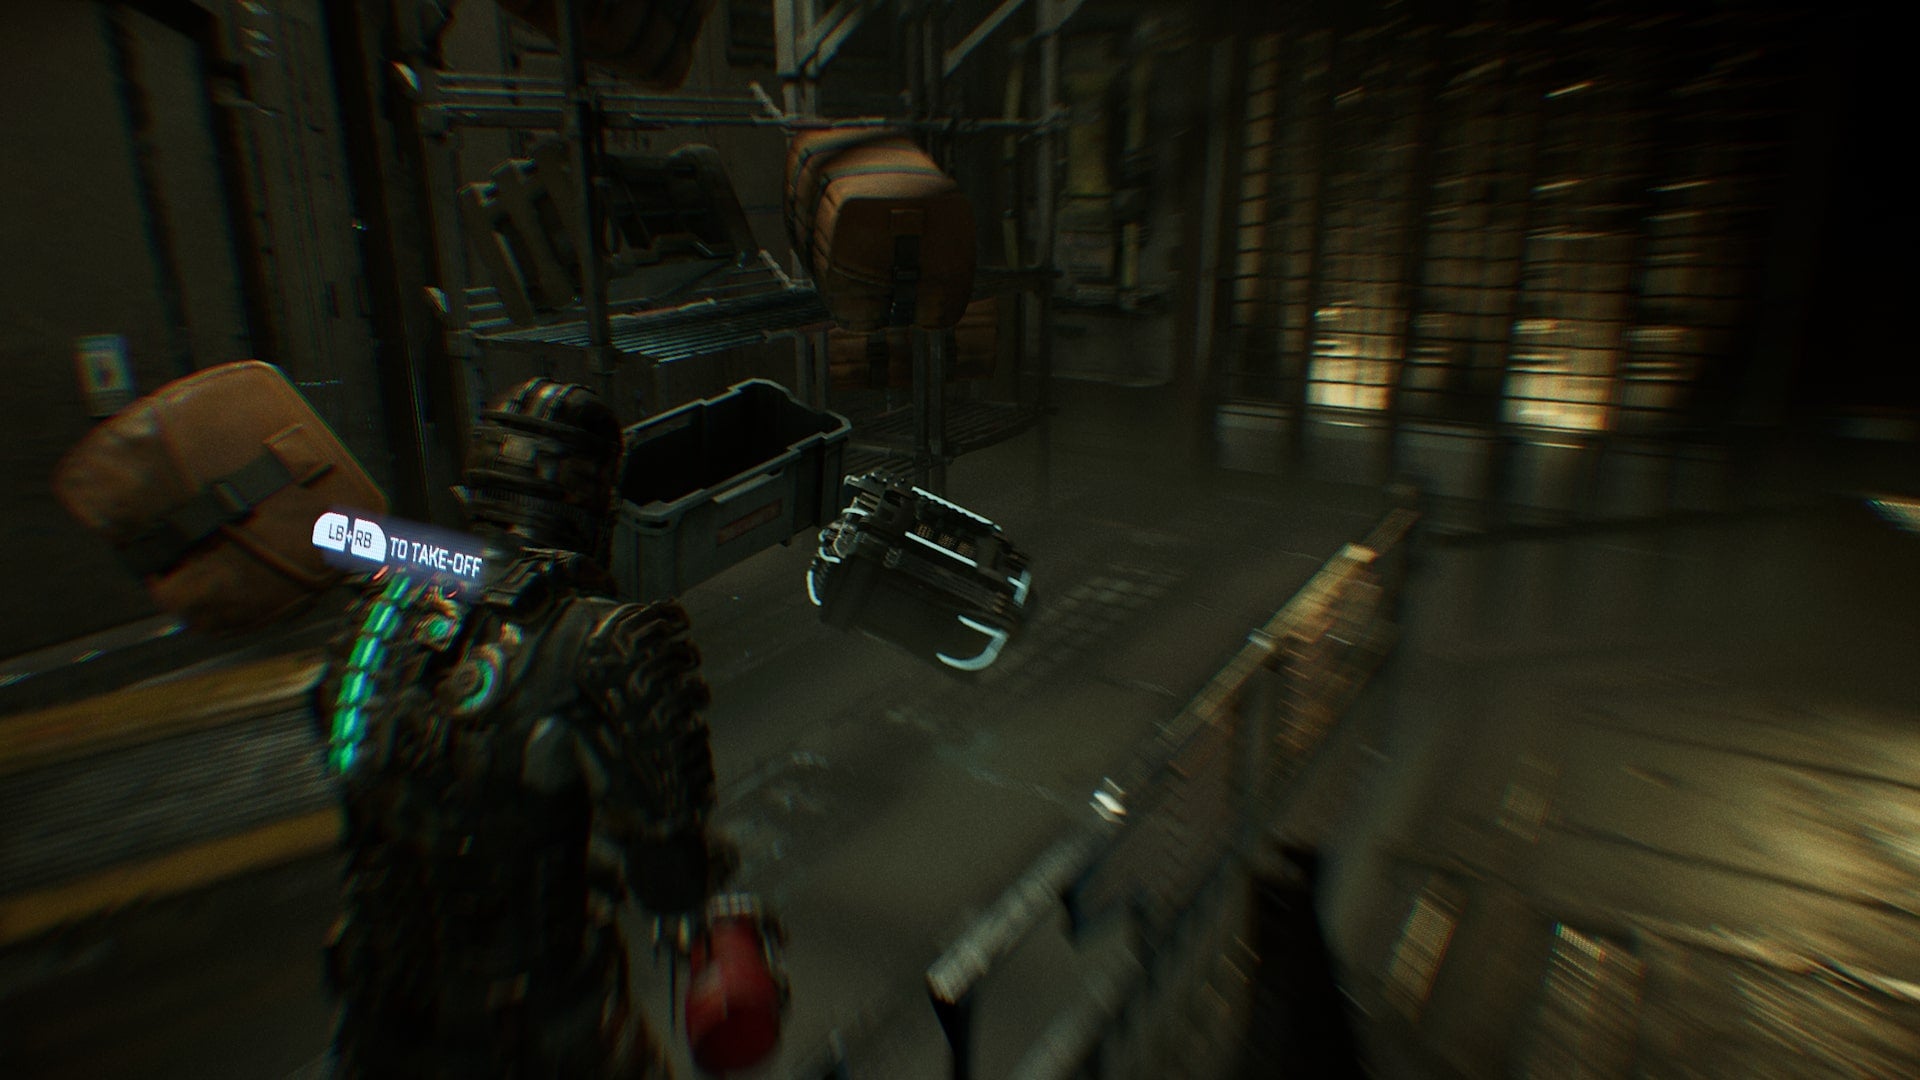
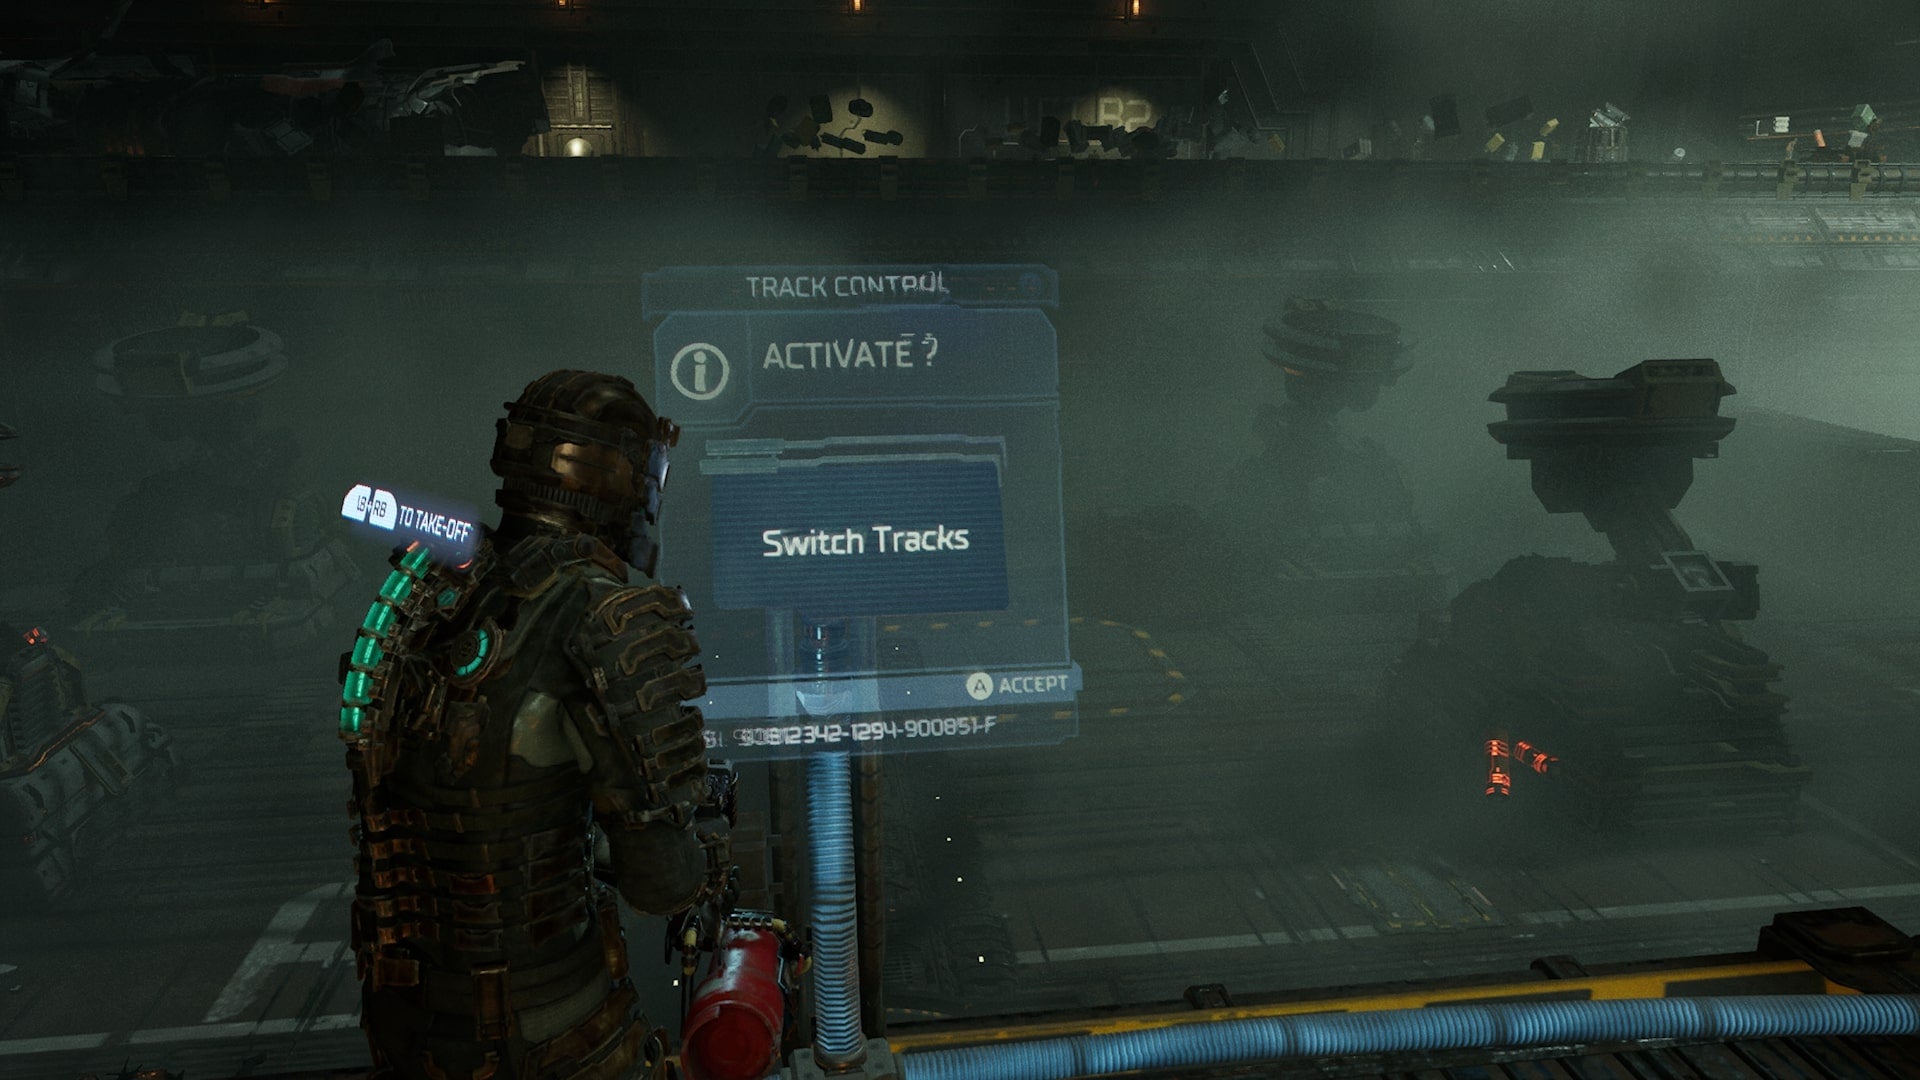
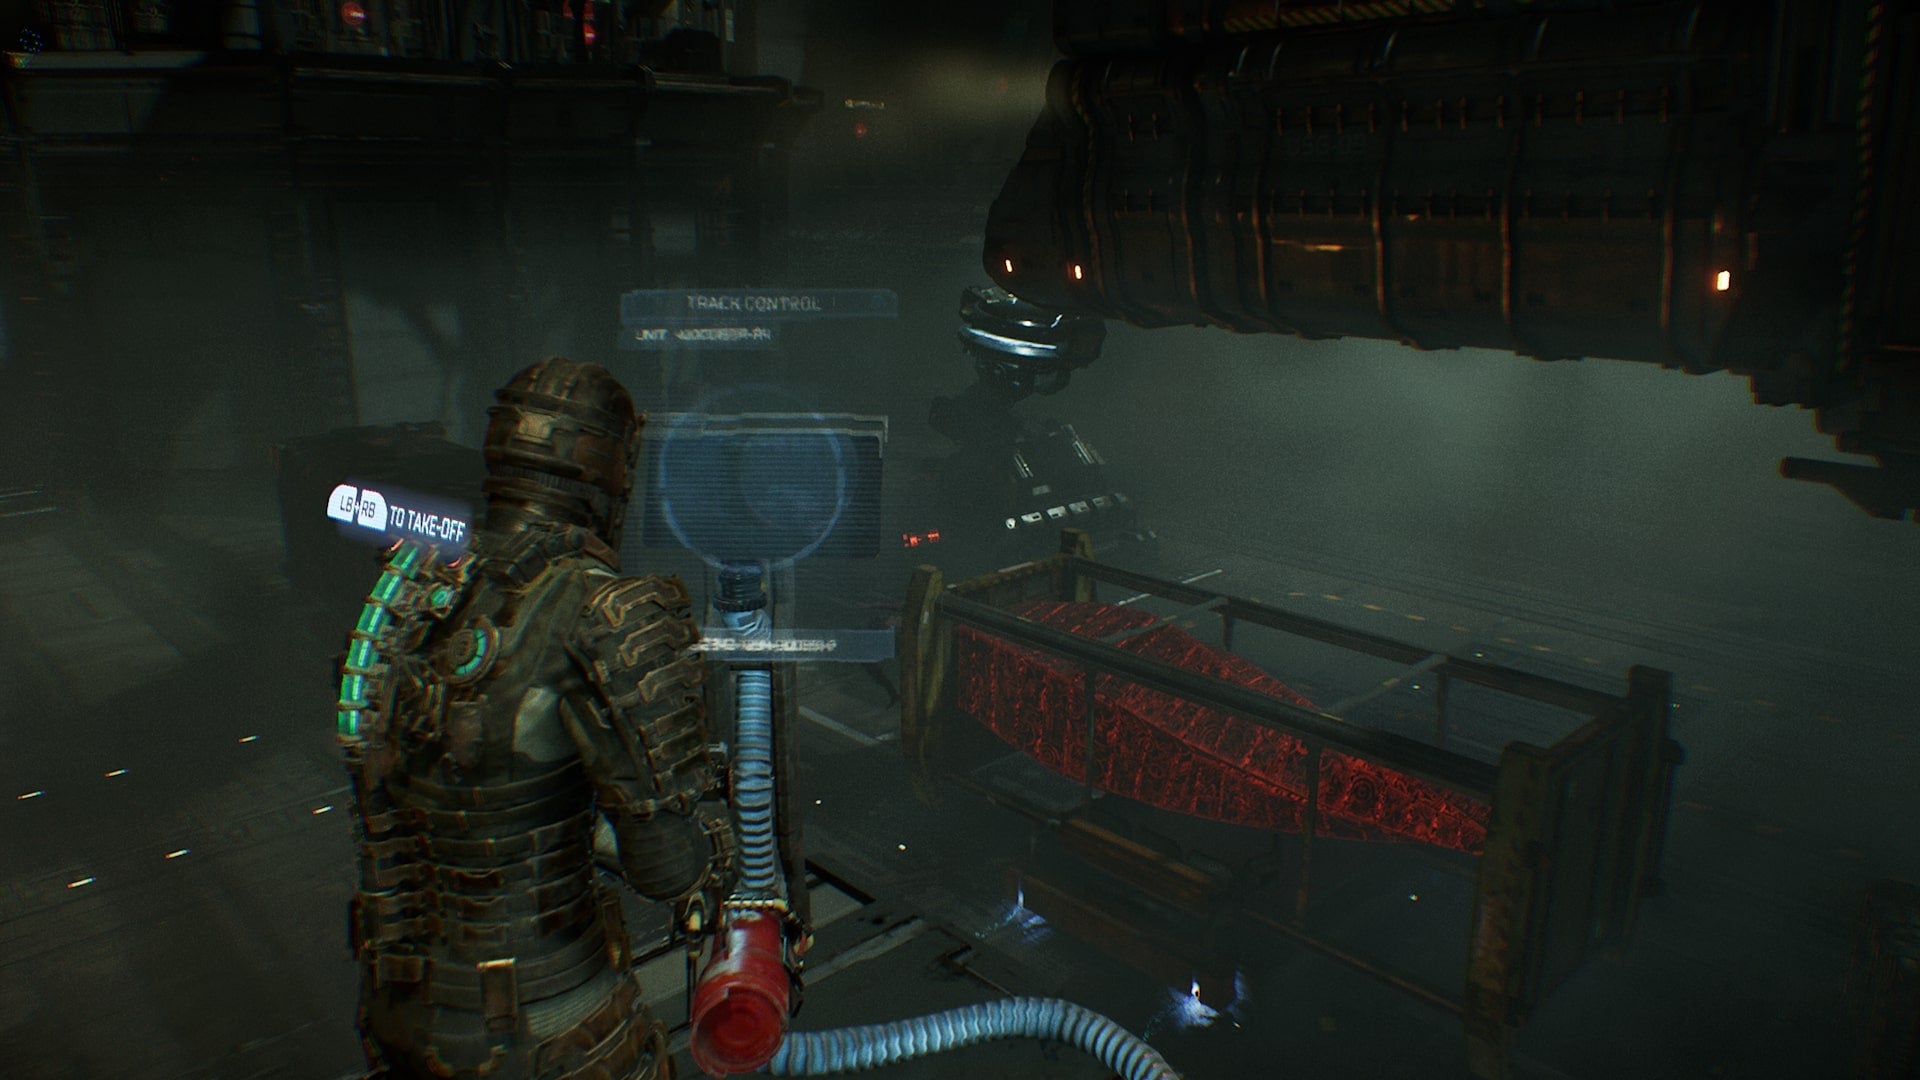
From the end of Chapter 10, you’ll be on the tram. Continue your tram journey over to Hangar-Cargo-Tram Control. Follow your locator over to the Cargo Bay, where you’ll find a Bench and an elevator. Use the Bench if needed and go down the elevator, preparing for enemies. There’s a lot of loot in this area, plus plenty of tendrils. After clearing the enemies, shoot the tendrils around the room as you loot it. Then, head to the control panel at the front of the room and engage the cargo crane. It’ll take a short while for The Marker to be retrieved, and you’ll need to fend off Necromorphs in the meantime. There will then come a moment where the Drag Tentacle spawns, regularly lunging at you. Kill this as you normally would by focusing on shooting its tendril. The Marker will also, inevitably, be blocked by the bridge in the middle of the Cargo Bay twice. While fending off enemies, you’ll need to activate the control panels here to lift the bridge, so that The Marker can continue moving. If you find that The Marker is stuck and not moving at any point, regardless of the bridge, look around the Cargo Bay for another tendril that could be blocking its path. Once The Marker is successfully in place, Kendra will call. Then, take a bearing from your locator and make your way over to the Hangar Bay. Although, a quarantine will occur in the Flight Lounge first that you’ll need to take care of. Following the arrival of the shuttle, continue following your locator to the Gravity Control panel and deactivate gravity. Your locator will now guide you over to The Marker, and activate the control panel in front of it to begin moving it again. Then, retrieve the power cell to the left of it. Take the power cell and use it to power the circuit breaker in the middle of the room. Then, turn on the Cargo Rail Track. To the right of this circuit breaker is another power cell. Make a note of its location. Now, go up to the control panels above the circuit breaker, and switch the tracks at all three separate control panels to move The Marker into place. When The Marker has moved as far as it can and stops again, switch the tracks once more using the control panel closest to it; this will send it underneath the shuttle. Next, soar on back over to the Gravity Control panel and turn gravity back on. Then, follow your locator to meet Kyne at the shuttle. After speaking with Kendra and Nicole, your locator will point the direction over to Flight Control, where you again talk to Nicole. During this conversation, initiate shuttle recall at the panel in the room. Then make your way over to the shuttle. Once aboard, you’ll be asked if you’re sure that you want to leave the USG Ishimura. You won’t be able to return after this point. So, when you’re ready, choose to leave and make your way to Aegis VII for Chapter 12: Dead Space. For more on Dead Space, take a look at our review of the remake, and some tips and tricks for tackling it.